

What is iCal and How Does it Work?
Let's dive right into the heart of the matter: What is iCal and how does it work? iCal, short for iCalendar, is a universal format used for sharing calendar information. It's like the lingua franca of digital calendars, allowing different calendar applications to talk to each other and share information seamlessly.
Imagine you're using Google Calendar but your colleague prefers Outlook. With iCal, you can both sync your calendars, allowing you to see each other's schedules and plan meetings accordingly. It's a tool that bridges the gap between different calendar platforms, making it easier for you to manage your time and collaborate with others.
So, how does it work? iCal operates using a specific file format (.ics) that can be read by various calendar applications. When you want to share a calendar event, your calendar application will create an .ics file. This file contains all the necessary details about the event, such as the date, time, location, and description.
When you share this file, the recipient's calendar application will read the .ics file and add the event to their calendar. This is how you can import iCal files into your calendar, allowing you to sync events across different platforms.
Now that you understand the basics of iCal, you're ready to explore its many benefits and learn how to use it effectively for managing your calendars. Stay tuned for our next section where we'll delve deeper into the benefits of iCal for calendar management.
The Benefits of Using iCal for Calendar Management
Stepping into the world of iCal can feel like unlocking a secret productivity superpower. This universal calendar format is more than just a tool for syncing calendars across different platforms. It's a comprehensive solution for managing your time, improving your productivity, and enhancing your collaboration with others. Let's explore the key benefits of using iCal for calendar management.
1. Seamless Calendar Synchronization: One of the most significant benefits of iCal is its ability to sync calendars across multiple platforms. Whether you're a Google Calendar user or an Outlook enthusiast, iCal allows you to import and sync your calendars with ease. This means you can access your schedule from any device, at any time, ensuring you're always on top of your appointments. 
2. Improved Collaboration: Sharing calendars with iCal is a breeze. You can share your entire calendar or specific events with others, regardless of the calendar application they use. This makes scheduling meetings and coordinating tasks much simpler, fostering better collaboration with your colleagues, family, or friends. 
3. Easy Calendar Management: With iCal, managing your calendars becomes a stress-free task. You can use the iCal viewer to view and edit your calendars, add new events, and even set reminders. It's like having a personal assistant that helps you manage your time effectively. 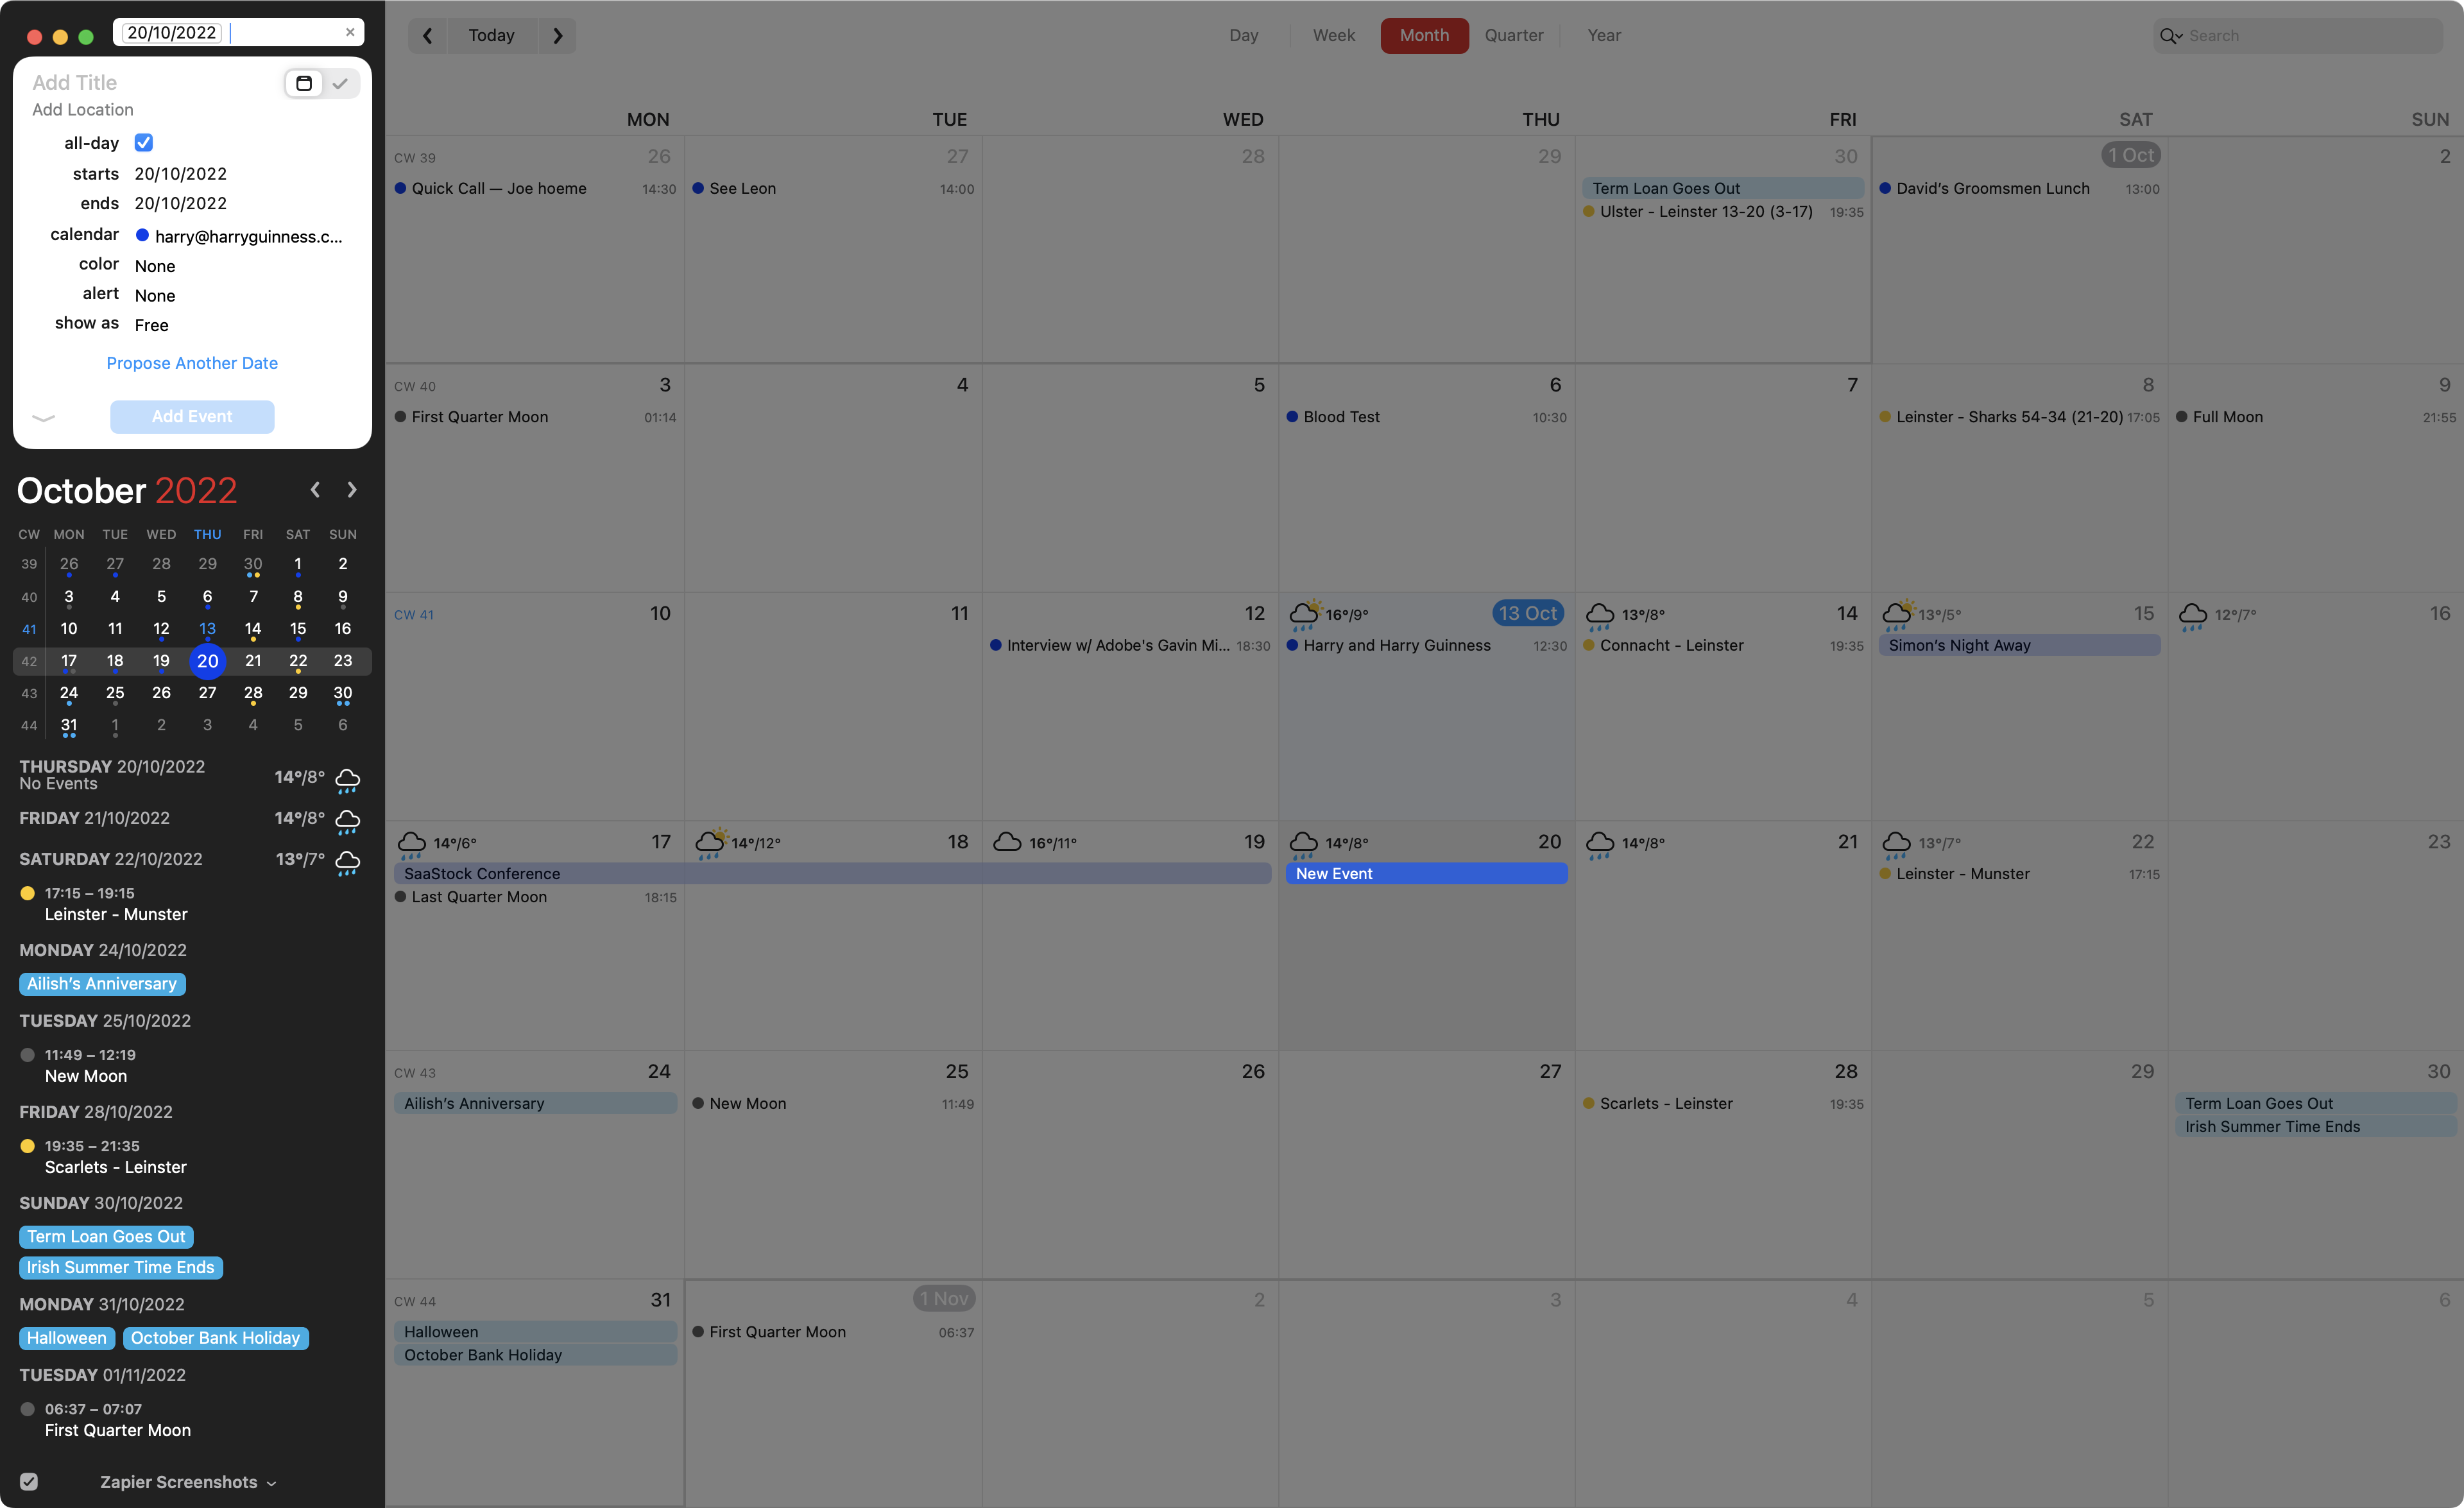
4. Enhanced Productivity: By allowing you to manage your calendars across platforms and share them with others, iCal helps you stay organized and productive. It eliminates the need for manual updates and ensures that you never miss an important event or deadline. 
In a nutshell, iCal is a powerful tool that can revolutionize the way you manage your time. It's not just about syncing calendars; it's about improving your productivity and making your life easier. So, why not give it a try? In the following sections, we'll guide you on how to import iCal, use the iCal viewer, and share your calendars with others. Stay tuned!
Importing and Syncing Calendars with iCal
Now that we've delved into the benefits of iCal, let's get our hands on the practical side of things. In this section, we'll explore how to import and sync calendars with iCal, a process that's simpler than you might think.
Firstly, to import a calendar into iCal, you'll need an iCalendar (.ics) file. This is a universal calendar format that can be read by many different calendar applications. Once you have your .ics file, importing it into iCal is a breeze. Simply open iCal, click on 'File', then 'Import', and select your .ics file. Voila! Your calendar is now imported into iCal. 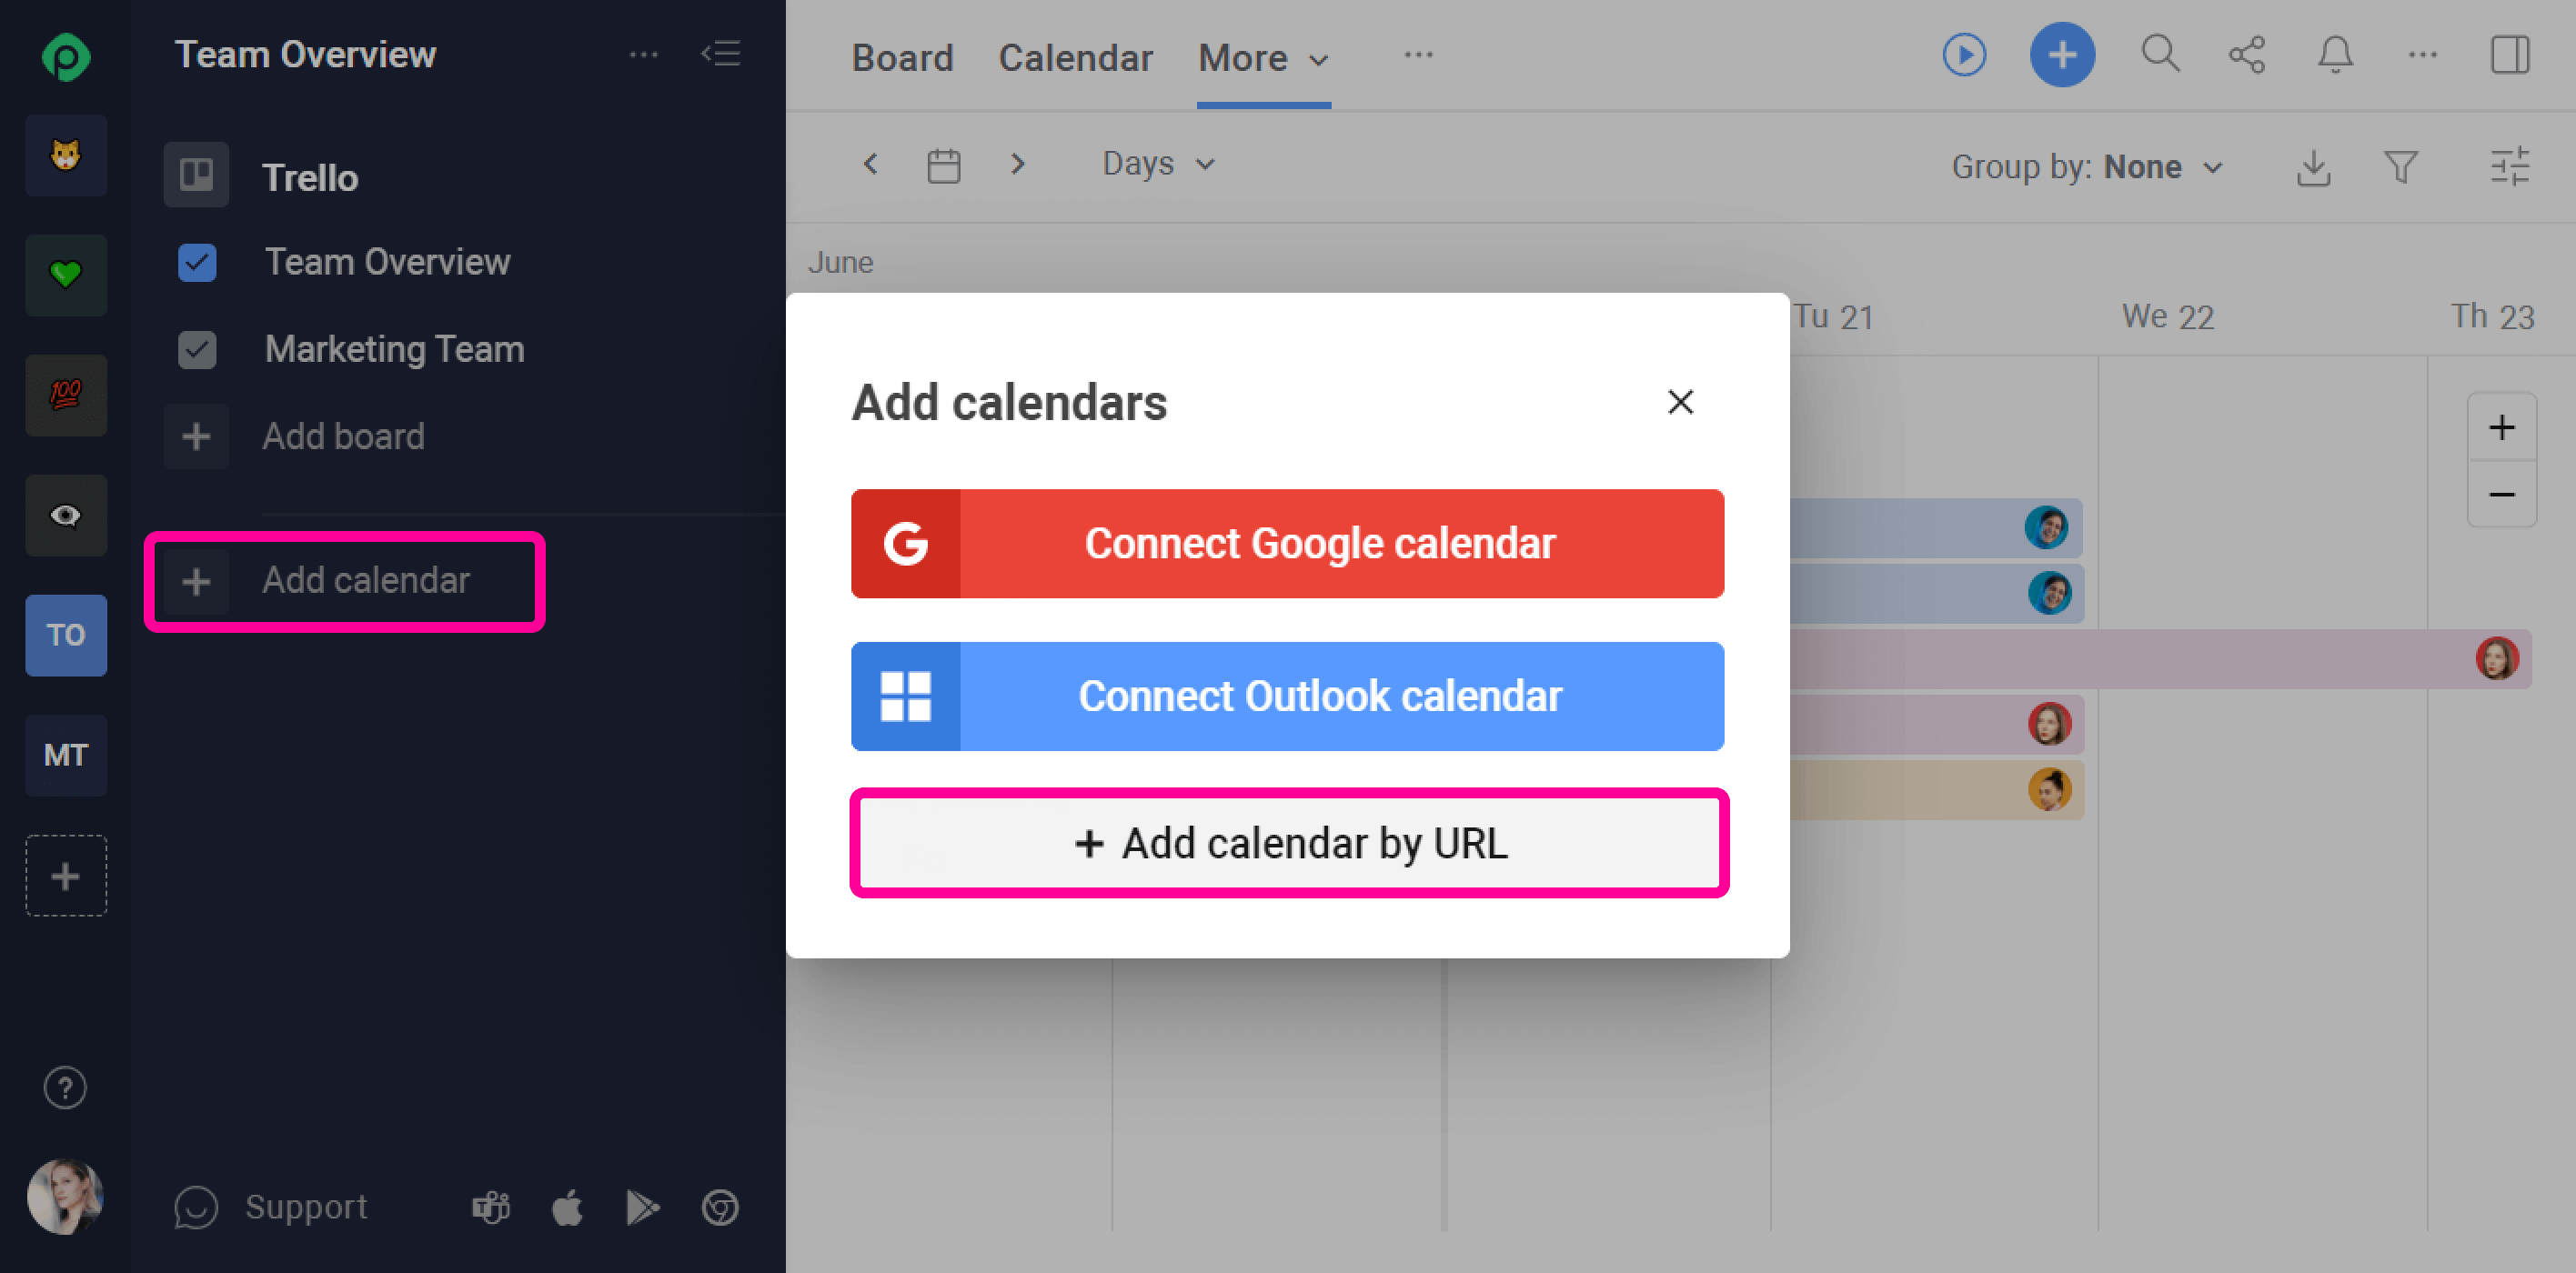
But what about syncing calendars? Well, iCal has got you covered there too. To sync your calendars across different platforms, you'll need to publish your iCal calendar to a server. Once published, you can subscribe to that calendar from any other device or platform, ensuring that your schedule is always up-to-date, no matter where you are. 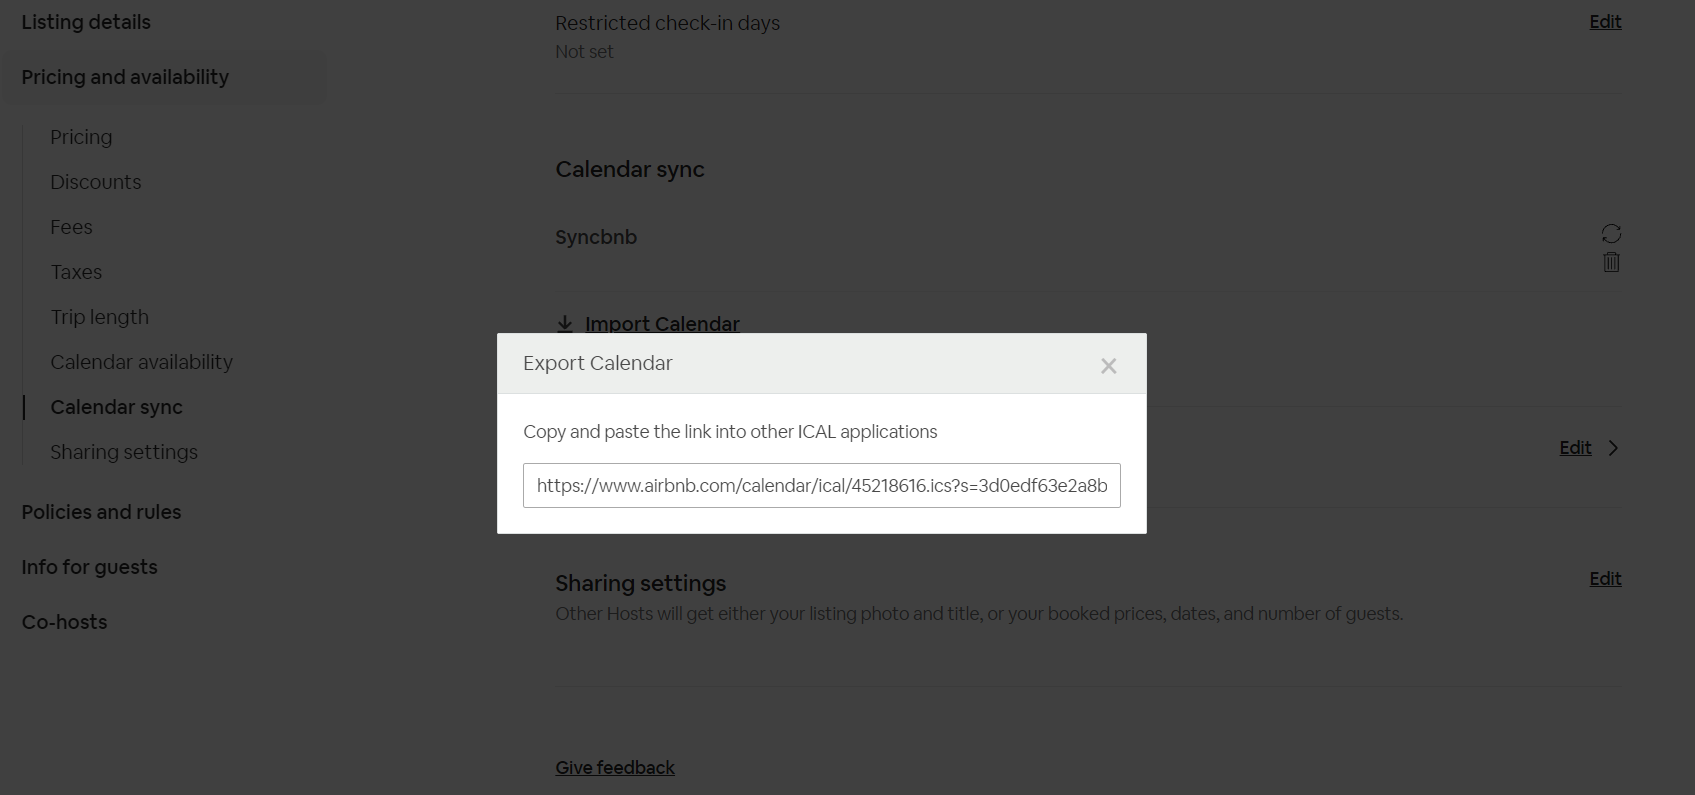
It's important to note that when you make changes to your iCal calendar, those changes will automatically sync across all subscribed devices. This is the magic of iCal's synchronization feature - it keeps your calendars in harmony, saving you the hassle of manual updates.
So, whether you're looking to import a calendar into iCal, or sync your calendars across multiple devices, iCal makes the process straightforward and efficient. It's all part of the ical format guide that makes managing your time and boosting your productivity a piece of cake. In the next section, we'll dive into the iCal viewer tutorial, so stick around!
Exploring the iCal Viewer: A Tutorial
Let's now delve into the heart of iCal: the iCal viewer. This is where the magic happens, where you can view, manage, and share your calendars. This tutorial will guide you through the key features of the iCal viewer, making your calendar management a breeze.
Accessing the iCal Viewer
First things first, how do you access the iCal viewer? It's simple. Open your iCal application and you'll be greeted by the main iCal viewer interface. This is your command center, where you can see all your calendars and events at a glance.
Navigating the iCal Viewer
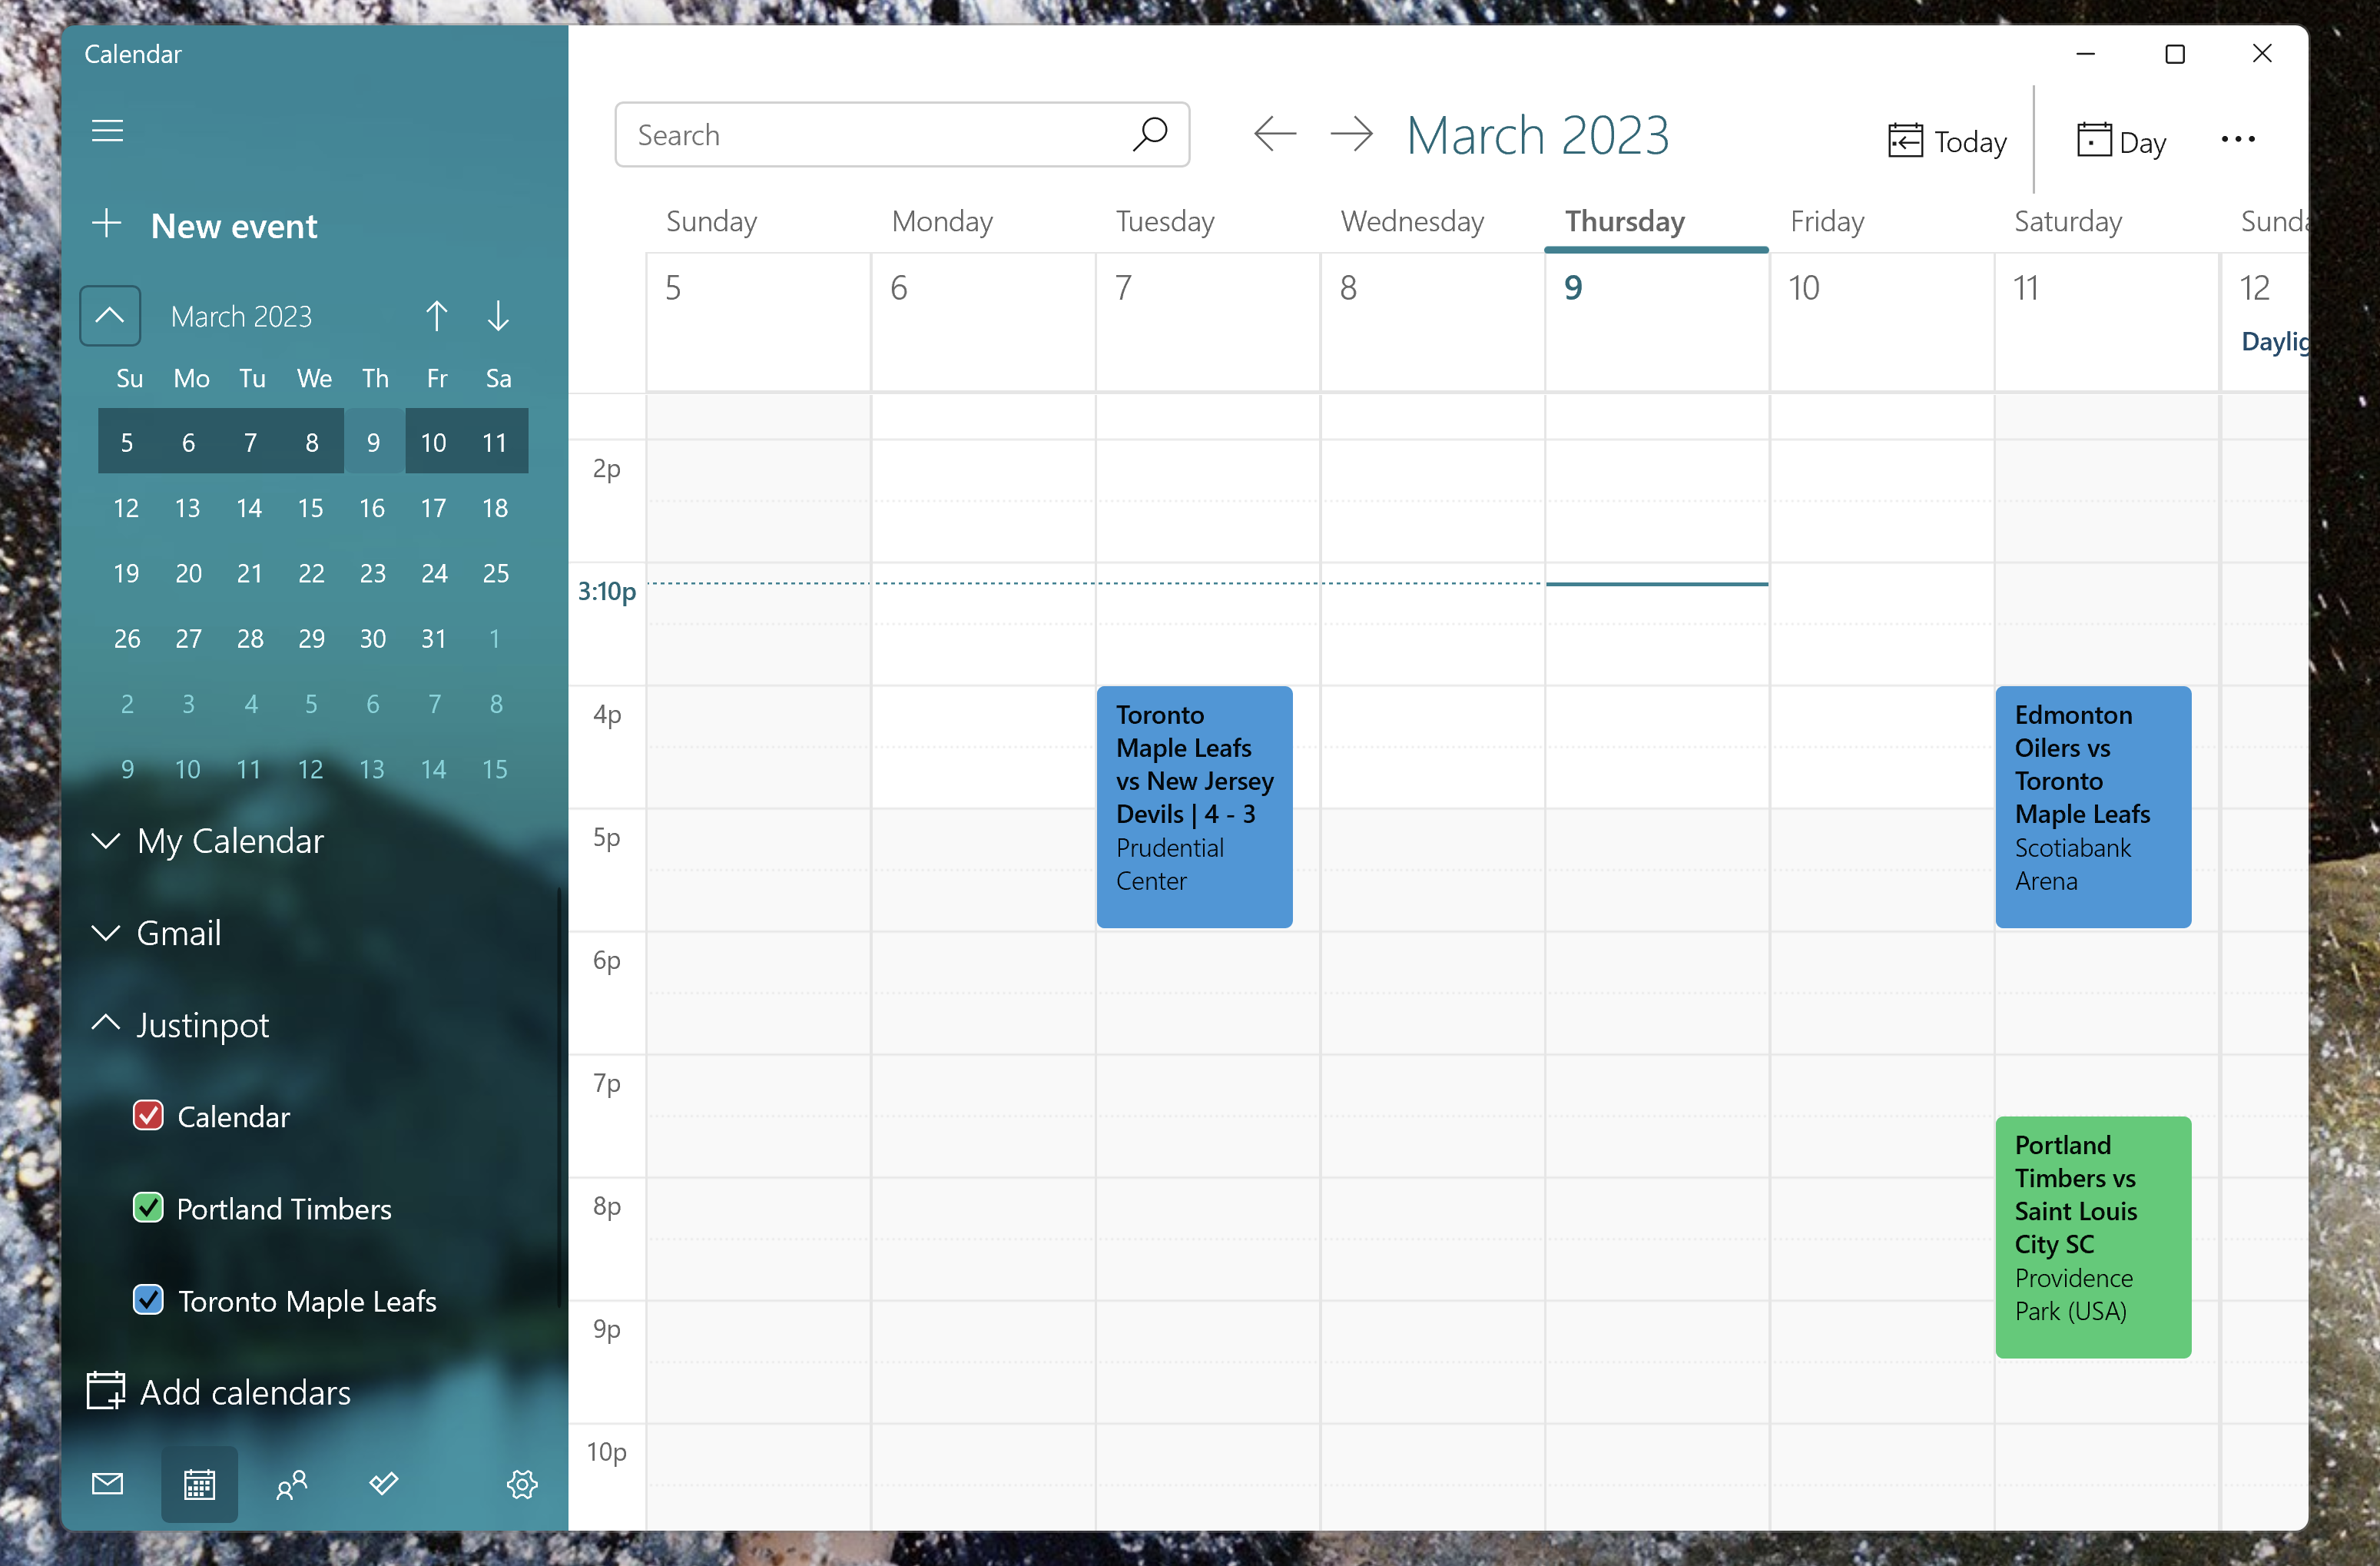
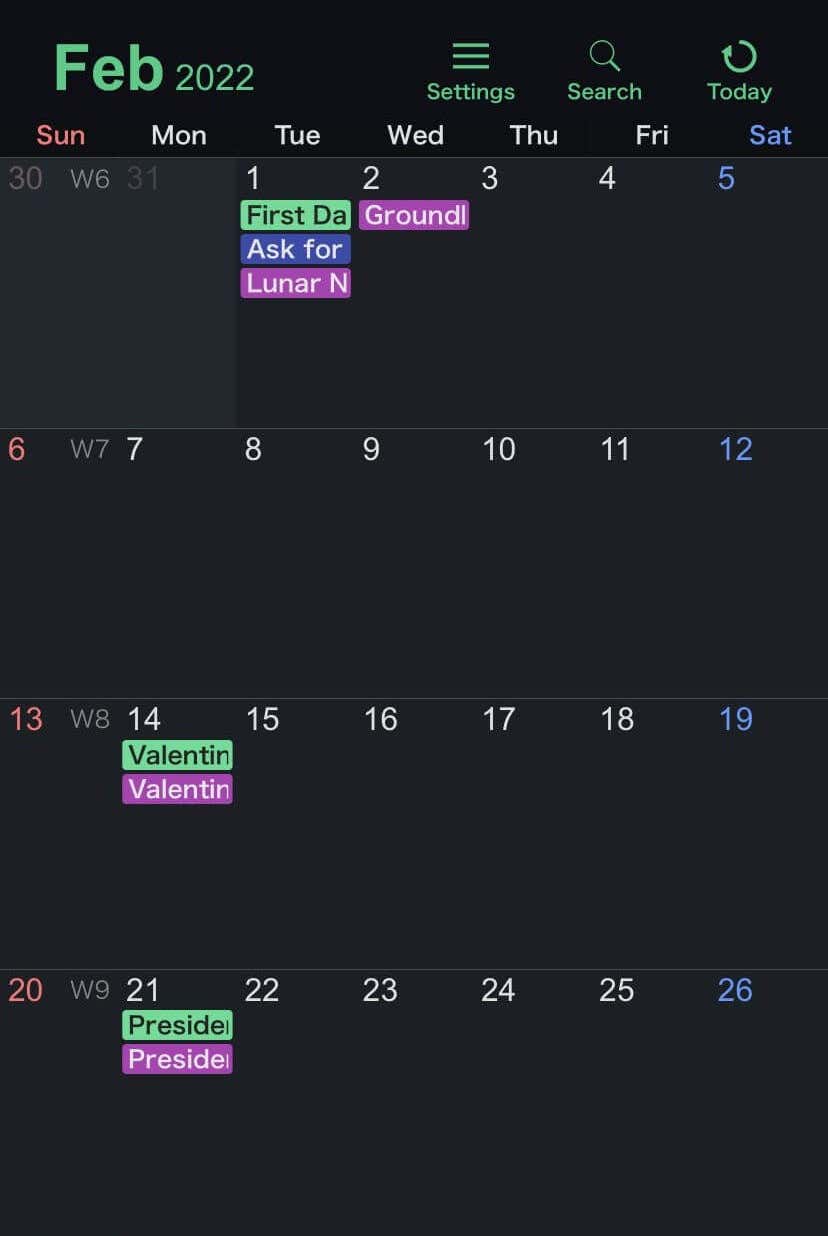
Now that you're in the iCal viewer, let's get familiar with its layout. On the left side, you'll find a list of all your calendars. Click on a calendar to view its events. You can also toggle the visibility of each calendar by clicking on the checkbox next to its name.
On the right side, you'll see a detailed view of the selected calendar. This includes an overview of your events, complete with their dates, times, and descriptions. You can switch between day, week, month, and year views to suit your needs.
Managing Calendars in the iCal Viewer
Managing your calendars in the iCal viewer is a cinch. To add a new event, simply click on the '+' button. To edit an event, click on it and make your changes in the pop-up window. You can adjust the event's date, time, location, and more. And remember, any changes you make will automatically sync across all your devices, thanks to the power of iCal sync.

Sharing your calendars is just as easy. Right-click on a calendar and select 'Share Calendar'. You can then enter the email addresses of the people you want to share the calendar with. They'll receive an invitation to view your calendar, and once they accept, they'll be able to see all your events and updates.
So there you have it, a quick tour of the iCal viewer. With this guide, you're well on your way to mastering the art of calendar management. Stay tuned for our next section where we'll delve into sharing calendars with iCal!
Sharing Calendars with iCal: A Step-by-Step Guide
Sharing calendars with iCal is a game-changer, especially for remote teams. It allows everyone to stay in sync and aware of each other's schedules. So, how do you share your calendar with iCal? Let's break it down step-by-step.
Step 1: Select the Calendar
Start by opening your iCal viewer. On the left side, you'll see a list of your calendars. Choose the one you want to share by clicking on it. 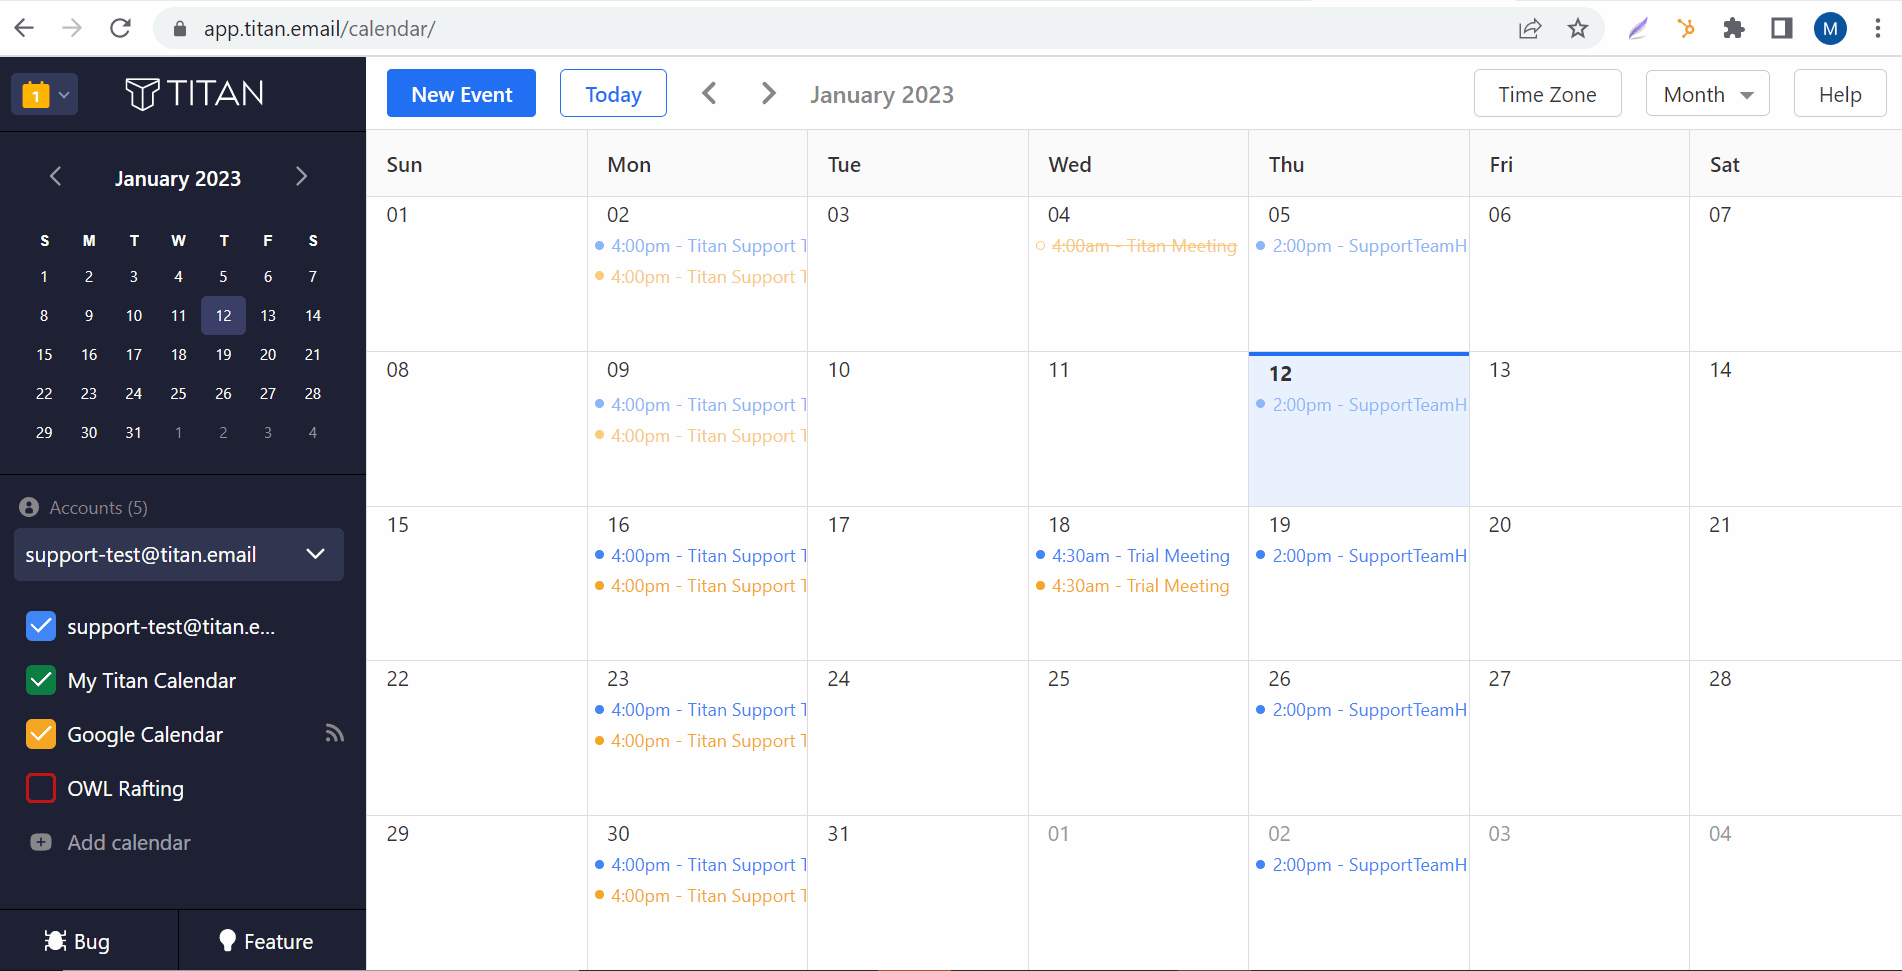
Step 2: Share the Calendar
Right-click on the selected calendar and choose the 'Share Calendar' option from the drop-down menu. 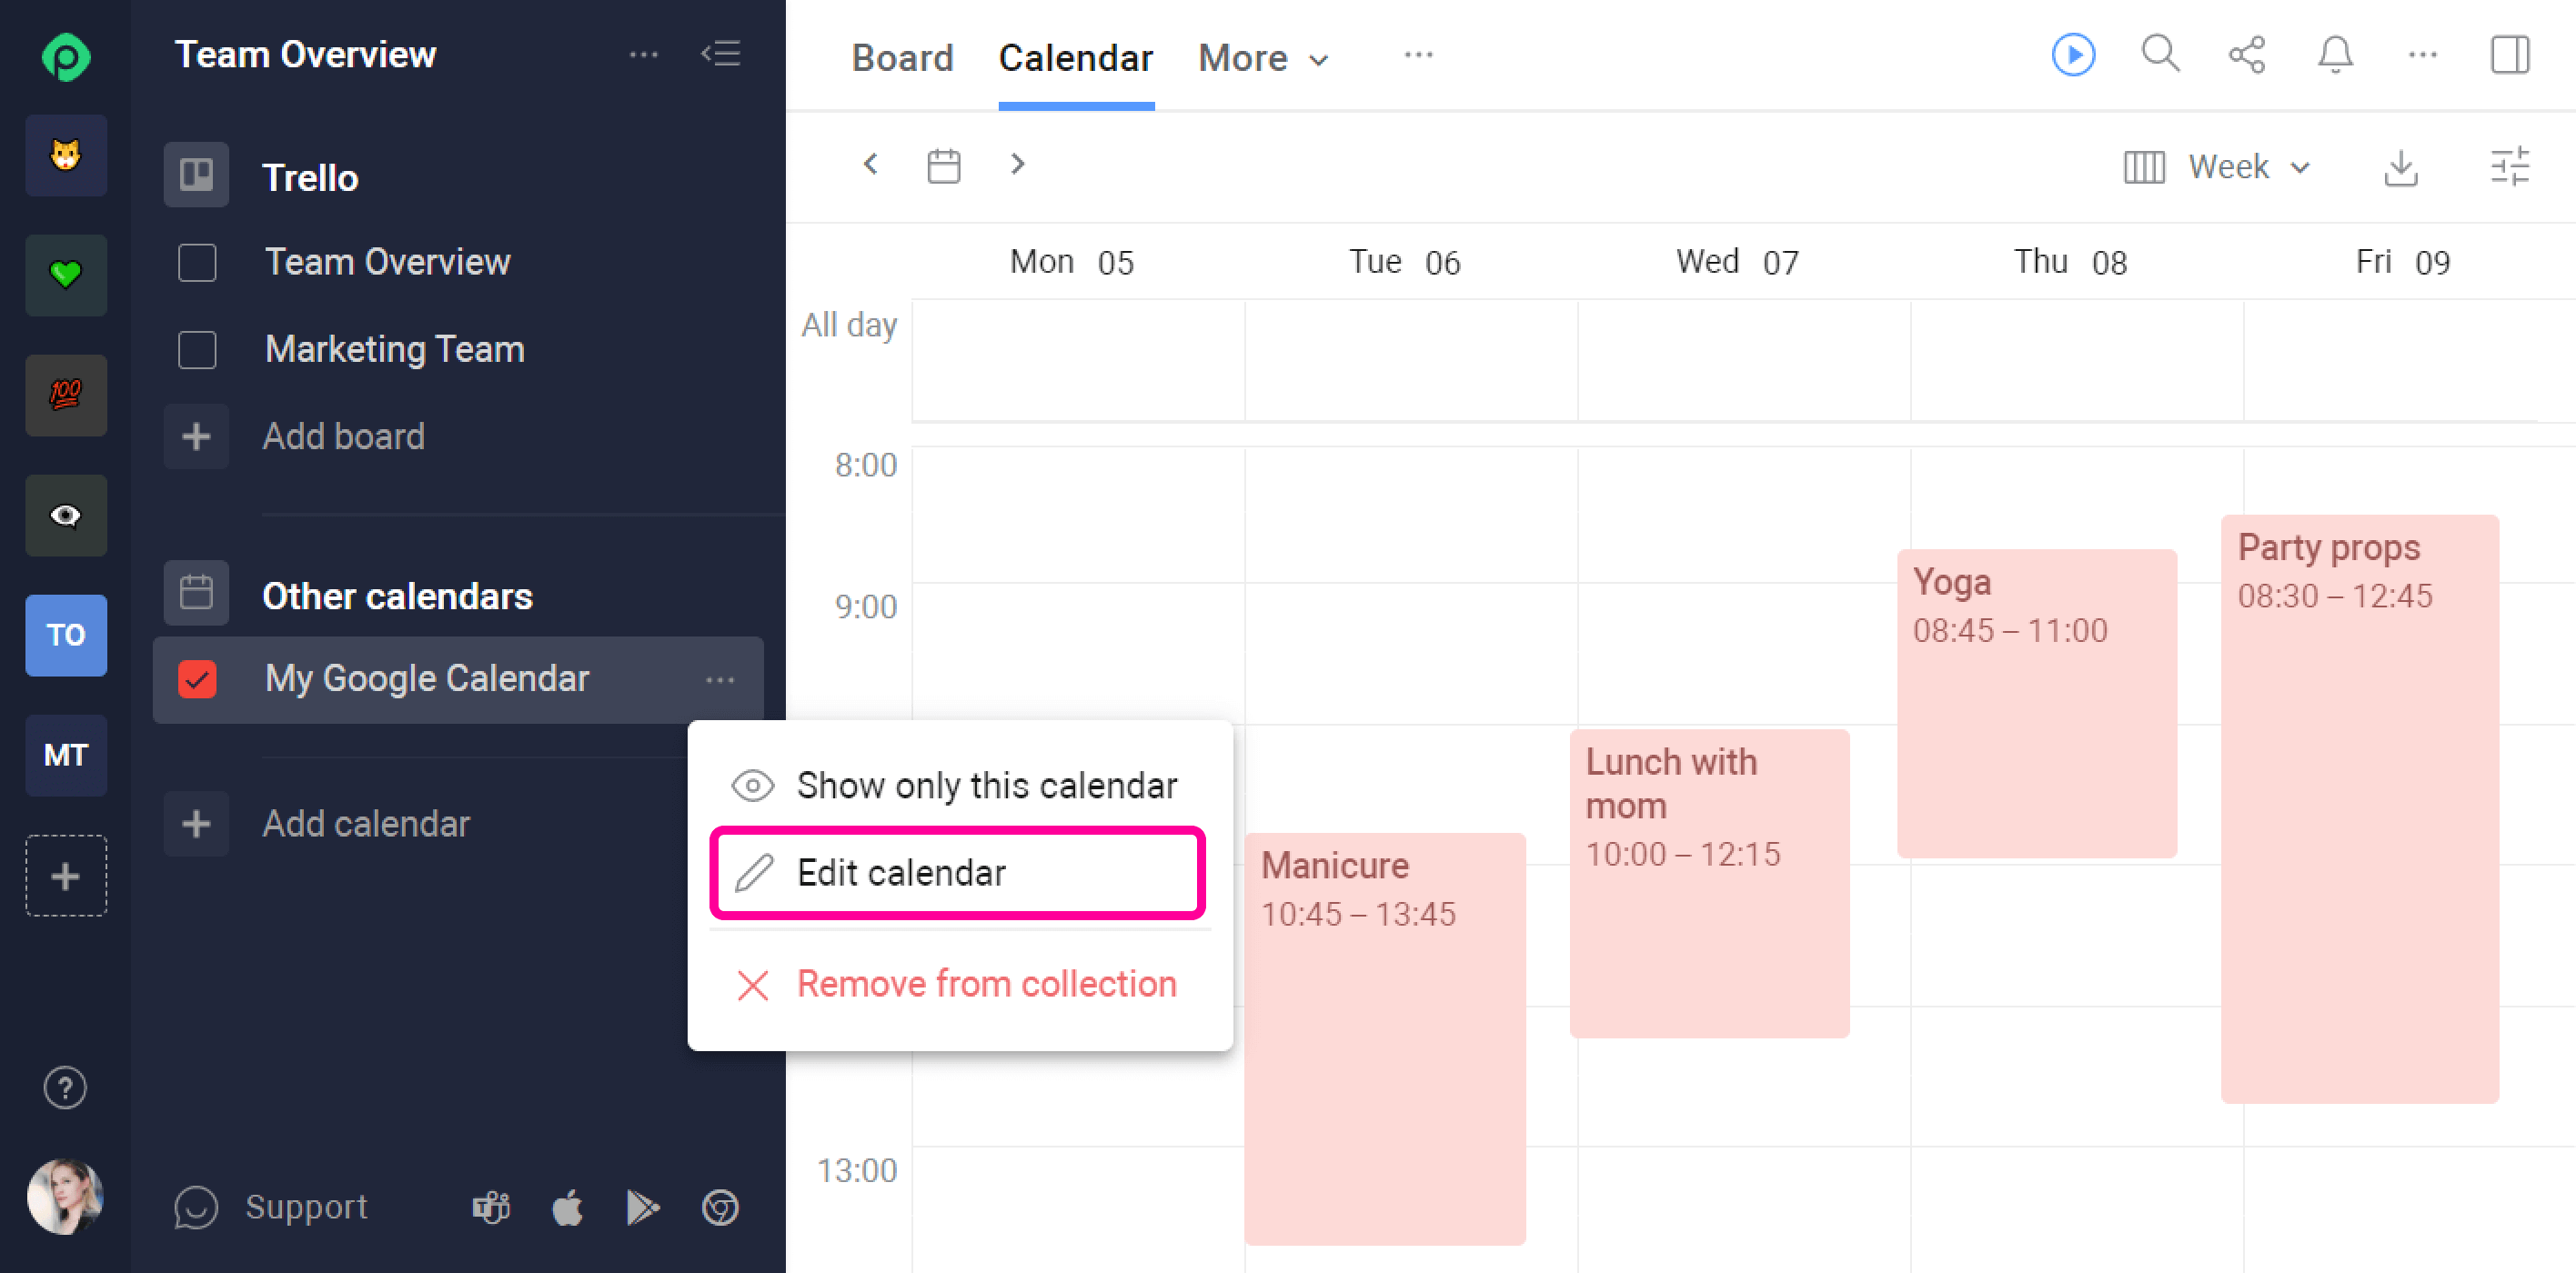
Step 3: Enter Recipient's Email
A window will pop up asking you to enter the email addresses of the people you want to share the calendar with. You can add multiple emails separated by commas. 
Step 4: Send Invitation
Once you've entered the emails, click 'Send'. The recipients will receive an invitation to view your calendar. Once they accept, they'll be able to see all your events and any updates you make. 
And voila! You've just shared your calendar with iCal. It's a simple process, but it can make a world of difference in managing schedules and coordinating with your team. Remember, the beauty of iCal is that any changes you make to your calendar will automatically sync across all devices. This means everyone stays updated in real-time, no matter where they are.
In our next section, we'll explore how to manage calendars across different platforms with iCal. Stay tuned!
Managing Calendars Across Different Platforms with iCal
Managing calendars across different platforms can seem like a daunting task, especially when you're juggling multiple schedules. But don't fret, iCal is here to save the day! With iCal, you can effortlessly sync and manage your calendars across various platforms, making it a breeze to keep track of your appointments, deadlines, and events. Let's dive into how this works.
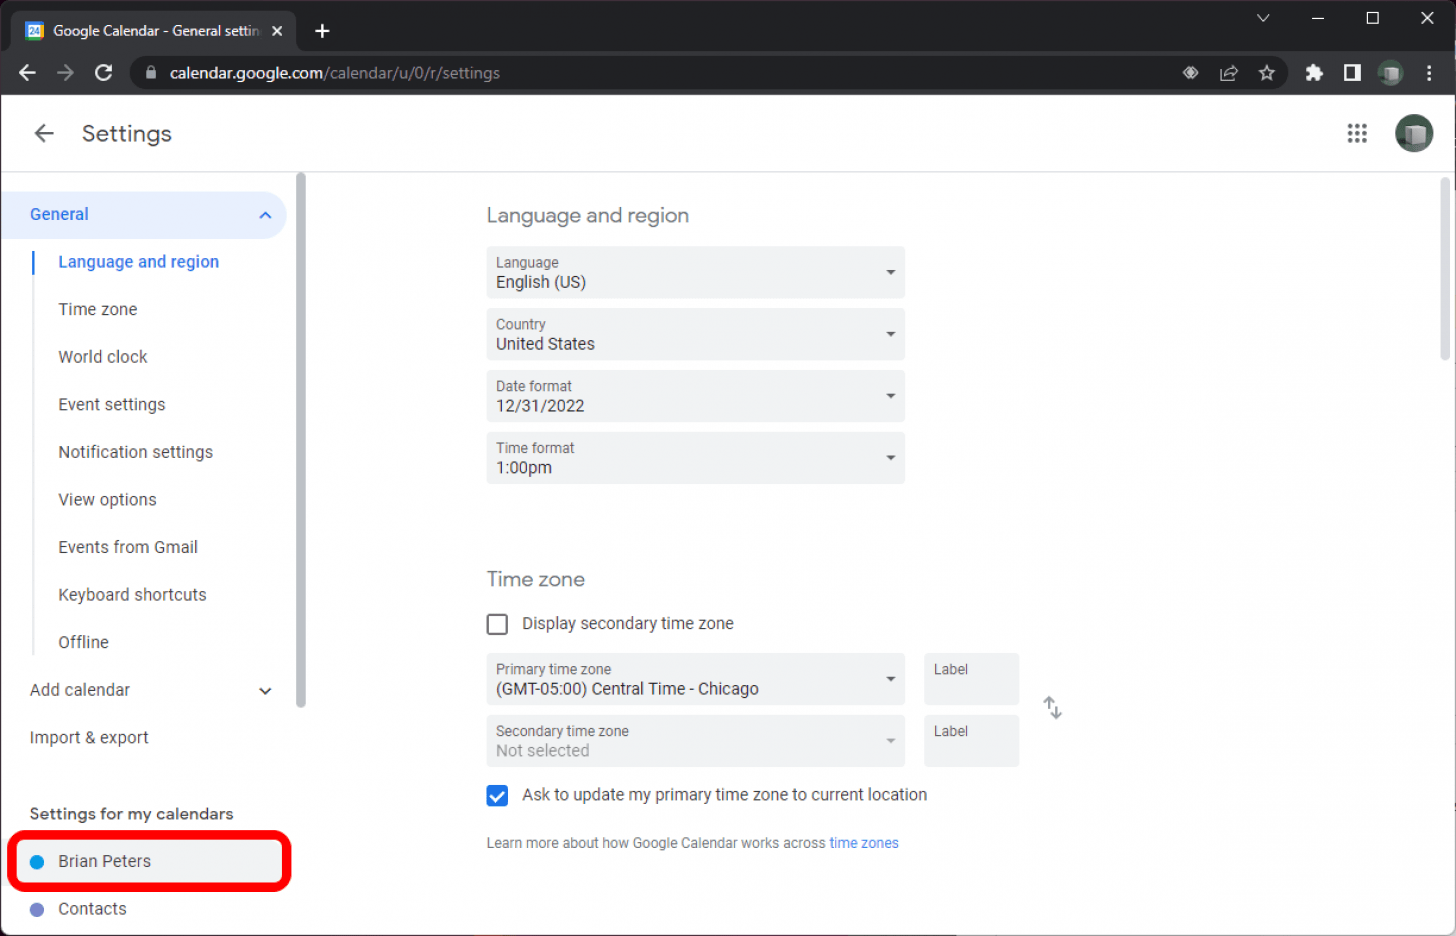
Firstly, it's important to understand that iCal uses a universal format that's compatible with most calendar applications. This means that whether you're using Google Calendar, Outlook, or Apple Calendar, you can easily import your iCal into these platforms. The process is usually as simple as clicking on 'Import' or 'Add Calendar', and then selecting the iCal file from your device.
Once you've imported your iCal, any changes you make on one platform will automatically sync across all others. This is because iCal uses the iCalendar format, which supports real-time updates. So, if you add an event on your Google Calendar, it will instantly appear on your Outlook and Apple Calendars too. This seamless syncing is a major benefit of iCal, ensuring you never miss an update or double-book yourself.

Sharing your iCal with others is also a breeze. As we discussed in the previous section, you can share your iCal with others by simply entering their email addresses. They'll then be able to view your calendar on their preferred platform, and any updates you make will automatically sync to their view too. This makes iCal an excellent tool for coordinating schedules with your team, family, or friends.
In conclusion, iCal is a powerful tool for managing calendars across different platforms. Its universal format, real-time syncing, and easy sharing make it a must-have for anyone juggling multiple schedules. So why not give iCal a try? You'll wonder how you ever managed without it!

Syncing iCal Across Devices: Tips and Tricks
Syncing iCal across devices is a game-changer for digital nomads like me, who are constantly on the move. It's like having a personal assistant that keeps all your calendars in sync, no matter where you are or what device you're using. Here are some of my favorite tips and tricks to make the most out of this feature.
1. Use the same Apple ID across all devices: To ensure seamless syncing, make sure you're using the same Apple ID on all your devices. This way, any changes you make on one device will automatically reflect on the others. 
2. Check your sync settings: Sometimes, the problem isn't with iCal, but with your device's sync settings. Make sure to check these settings to ensure they're set up for automatic syncing. 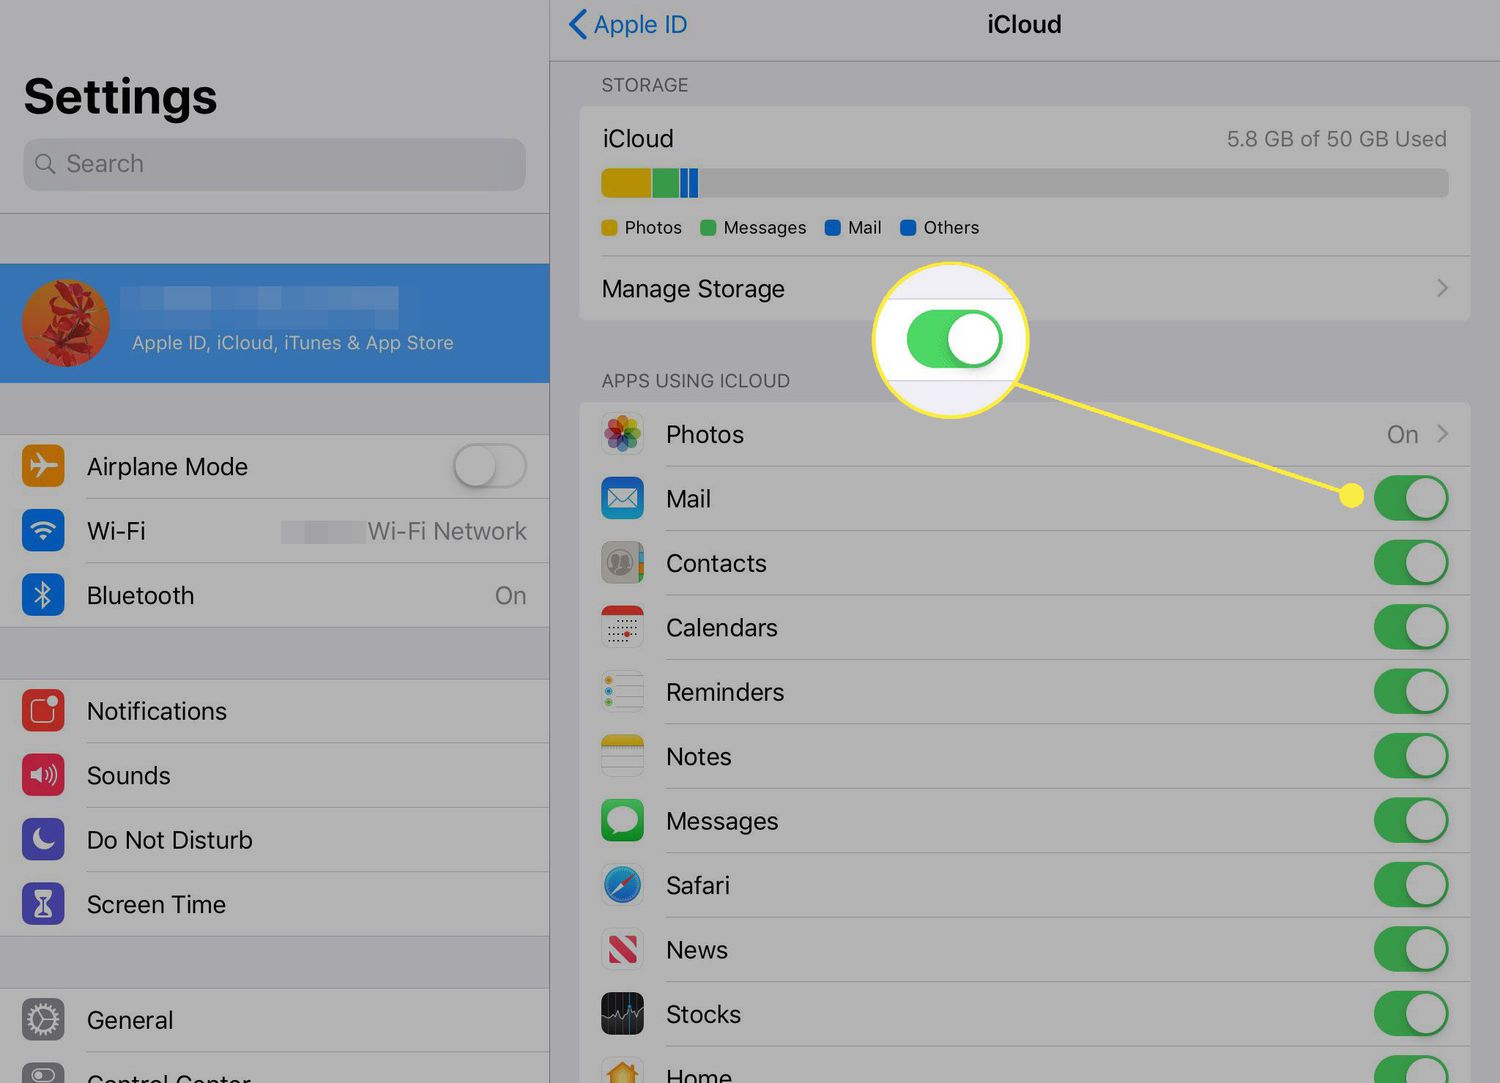
3. Regularly update your devices: Keeping your devices updated ensures they're equipped with the latest software, which can help prevent syncing issues. 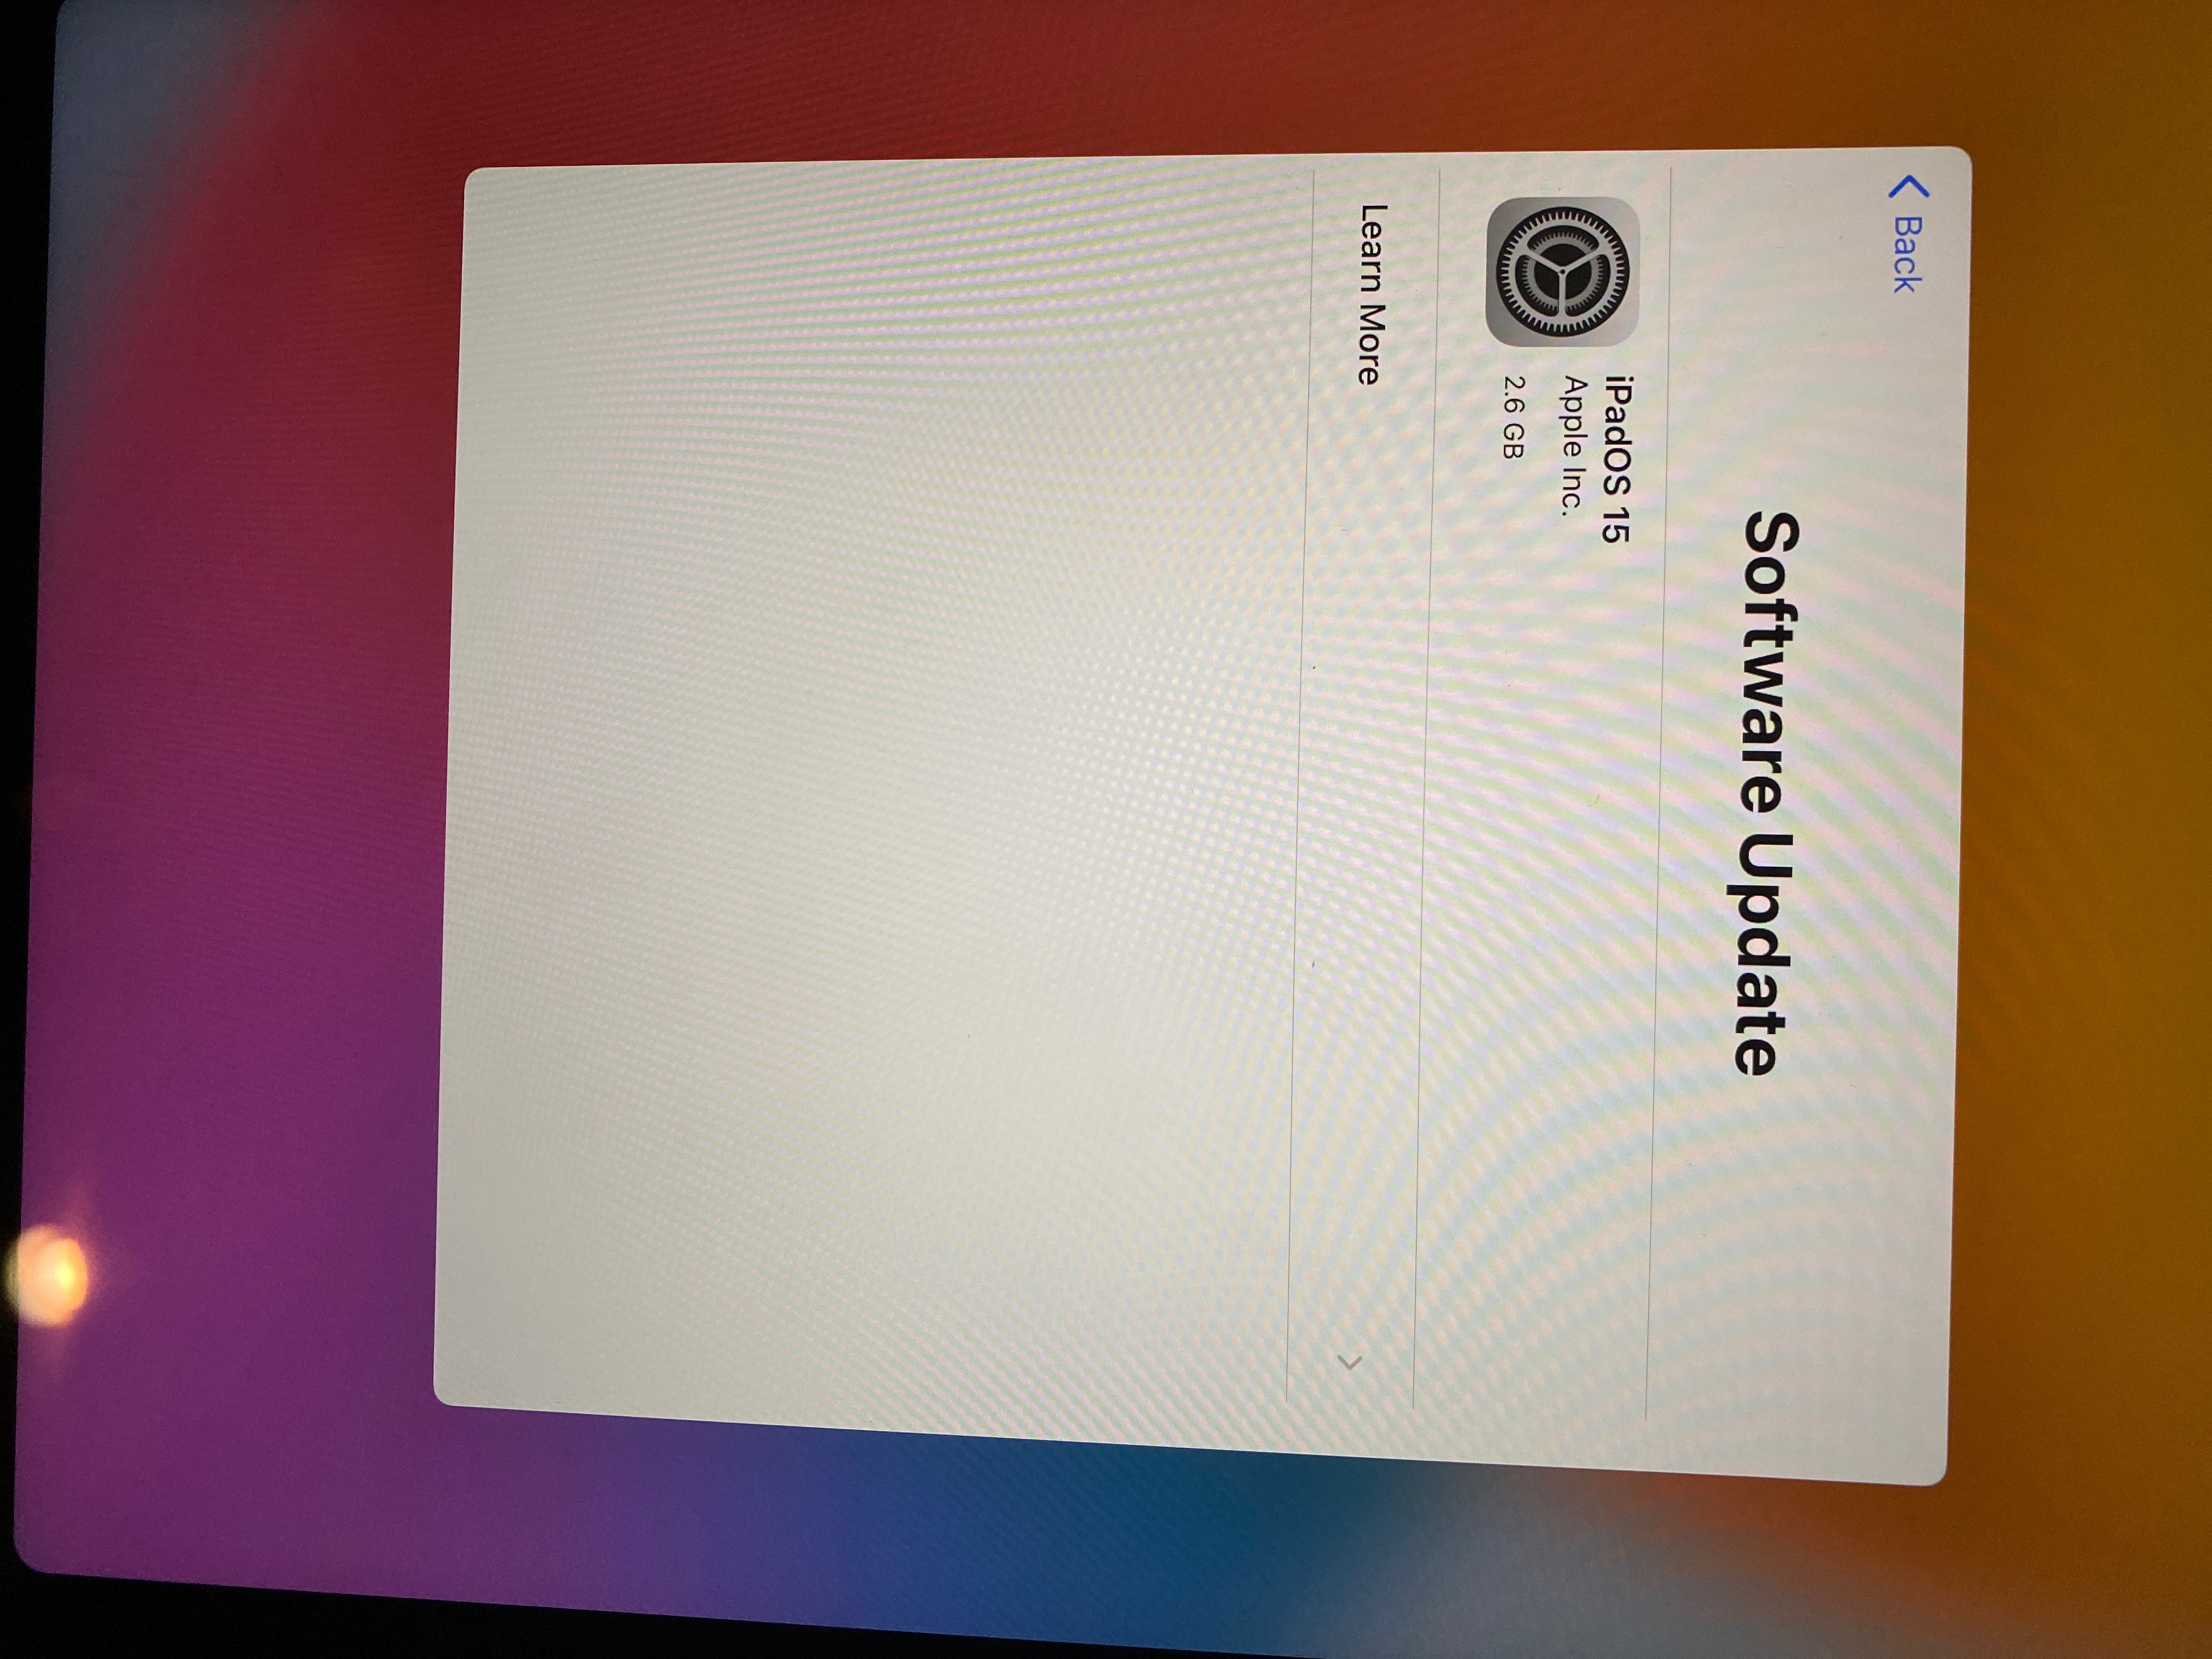
4. Use a reliable iCal viewer: An iCal viewer can be a lifesaver when you're trying to manage multiple calendars. It allows you to view all your iCal events in one place, making it easier to keep track of your schedule.
5. Share your iCal with others: Sharing your iCal with others can help streamline coordination, especially in a team setting. Simply share your iCal link with your team members, and they'll be able to view and sync your calendar on their devices. 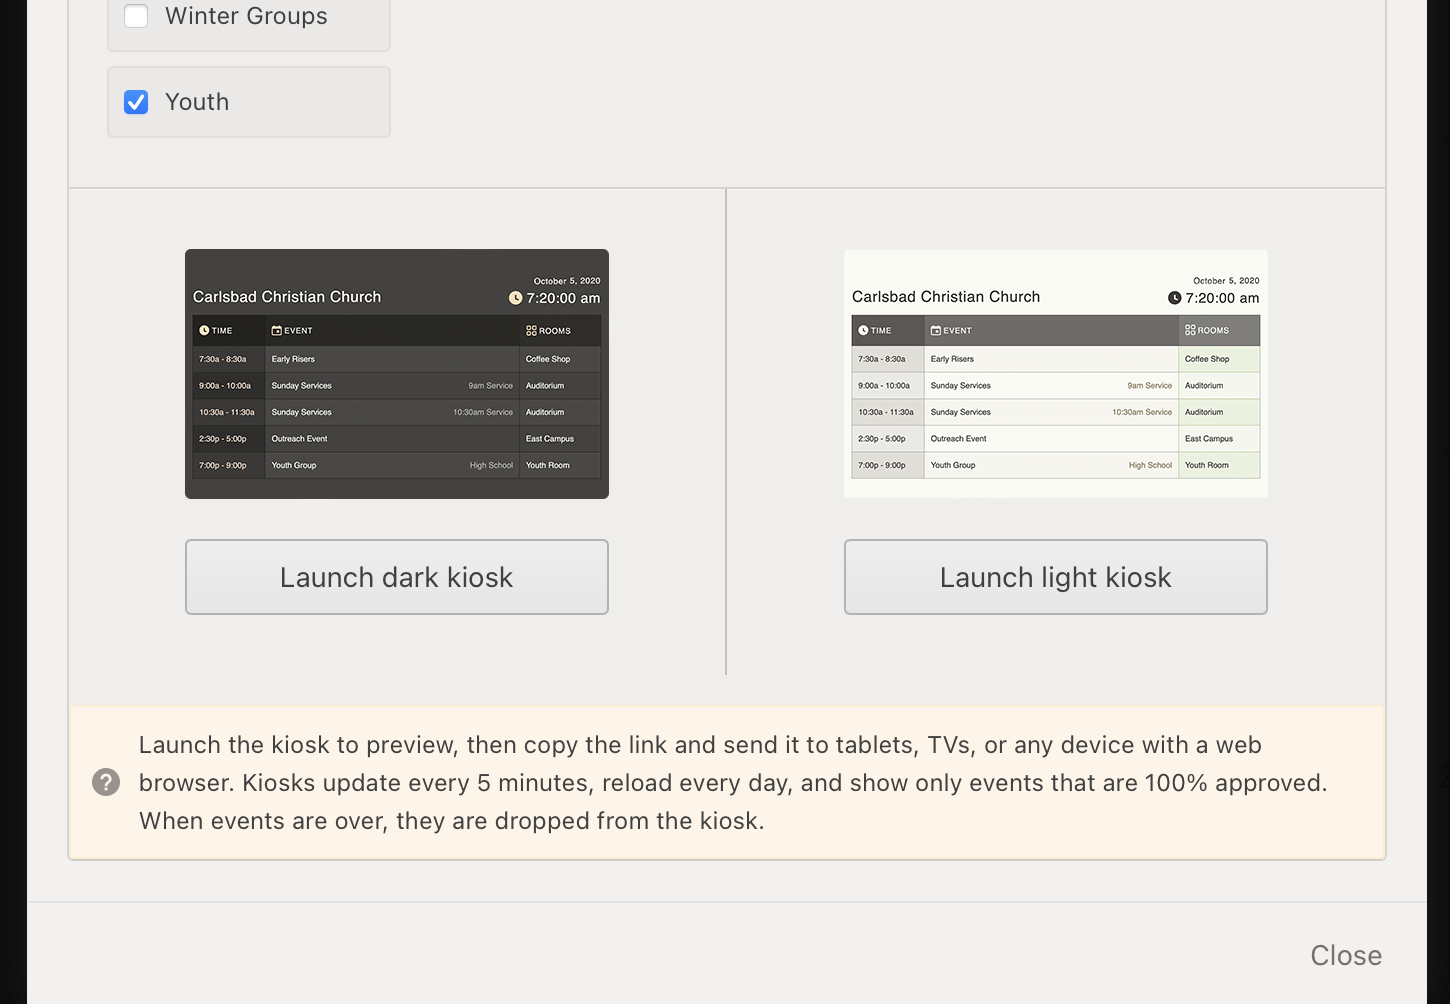
Remember, the goal of syncing iCal across devices is to make your life easier, not more complicated. So, don't be afraid to experiment with different settings and tools until you find what works best for you. Happy syncing!
Collaborative Calendar Management with Shared iCalendars
Now that we've explored syncing iCal across devices, let's dive into the world of Collaborative Calendar Management with Shared iCalendars. As a digital nomad, I've found that sharing calendars is a game-changer for remote teams. It's like having a virtual meeting room where everyone can see the schedule and plan accordingly.
Sharing an iCal is as simple as sending a link. Once shared, your team members can import your iCal into their own calendar apps. This way, they can view your calendar alongside their own, making it easier to coordinate schedules. Here's a simple guide on how to share your iCal:
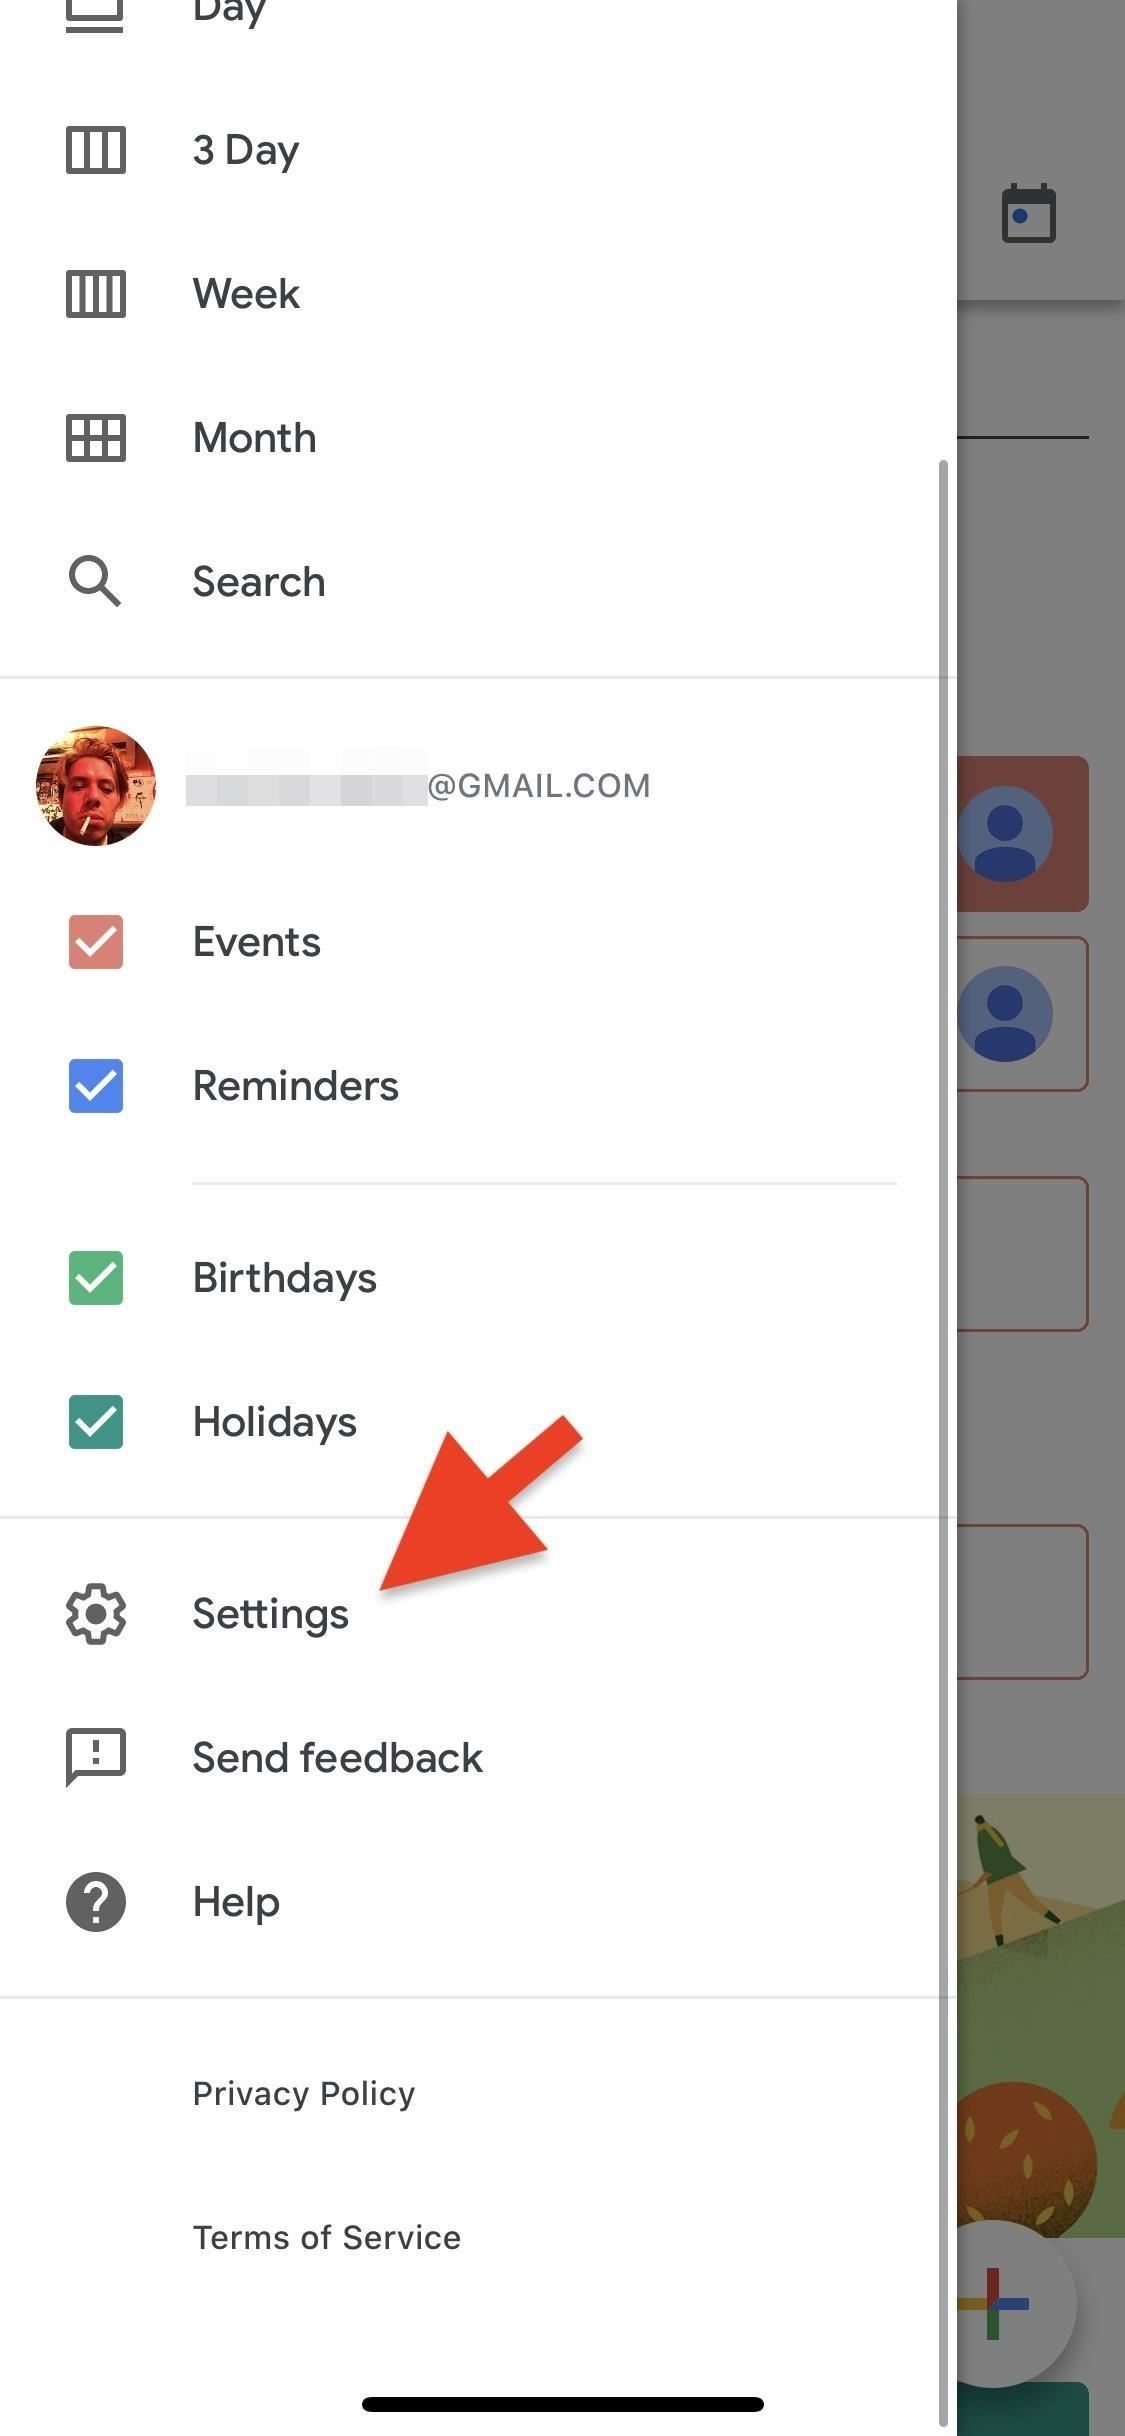
1. Open your calendar app and select the calendar you want to share.
2. Click on the 'Share' or 'Calendar Settings' option.
3. Look for an option that says 'Public Calendar' or 'Share with specific people'.
4. Copy the iCal link and share it with your team members.
But sharing iCalendars isn't just about sending links. It's about creating a collaborative environment where everyone is on the same page. To make the most out of shared iCalendars, consider these tips:
1. Regularly update your shared iCal: Keep your team in the loop by regularly updating your shared iCal. Any changes you make will automatically reflect on their imported calendars.
2. Use a shared iCal for project timelines: Shared iCals are great for visualizing project timelines. You can create an iCal for a specific project and share it with your team.
Remember, the goal of sharing iCalendars is to foster collaboration and streamline coordination. So, embrace the power of shared iCals and watch your team's productivity soar. Happy sharing!


No comments yet. Be the first to share your thoughts!