

Get calendar syncing right
Before you attempt to import an .ics file or configure automatic sync, you need to verify that your devices and accounts are actually talking to each other. Calendar syncing is rarely a single switch; it is a chain of connections. If one link in that chain is weak, the entire system fails.
Start by checking your account credentials. Ensure you are signed into the same Google, Outlook, or iCloud account on every device where you want to see the events. A common failure point is having the correct email address but an outdated password or a secondary account (like a work vs. personal alias) logged in simultaneously.
Next, confirm that calendar permissions are enabled. On iOS and Android, go to Settings > Calendar > Accounts. Ensure the "Calendars" toggle is active for each connected account. If this switch is off, the device will download your contacts but ignore your schedule entirely.
Finally, verify your internet connectivity and sync settings. Ensure "Automatic Sync" is turned on in your account settings. If you are using a third-party iCal viewer or sync tool, check that it has permission to read and write to your local calendar database. Without these basics, even the most advanced syncing features will remain dormant.
How to import, share, and manage calendars across platforms
Syncing your calendar across devices relies on the iCal format (ICS files) and standard sharing protocols. Whether you are moving from Outlook to Google or consolidating multiple work and personal schedules, the process involves exporting, importing, and configuring sync permissions. This guide walks through the specific steps to get your calendar data flowing correctly using the iCal viewer and standard platform tools.
Step 1: Export your source calendar
Start by generating an .ics file from your current calendar provider. This file contains all your events, reminders, and recurring dates in a universal format that any iCal viewer or calendar app can read.
- Open your current calendar app (Google Calendar, Outlook, or iCloud).
- Navigate to Settings or Calendar Settings.
- Select Export or Download options. Choose the date range you wish to sync (e.g., "All events" or a specific year).
- Save the downloaded
.icsfile to a known location on your computer.
Note: Exporting is a one-time snapshot. If you need ongoing two-way sync (changes reflect on both platforms), you will need to use an iCal URL subscription instead of a static file export.
Step 2: Import the iCal file into your destination app
Once you have the .ics file, you need to bring it into your new or primary calendar system. This step creates a local copy of your events.
- Log in to your destination calendar (e.g., Google Calendar, Apple Calendar, or Outlook).
- Look for the Import or Add Calendar option, usually found in the settings menu.
- Upload the
.icsfile you just downloaded. - Choose how to handle conflicts (e.g., overwrite existing events or keep both).
- Click Import or Add to finalize the process.
Step 3: Subscribe via iCal URL for live syncing
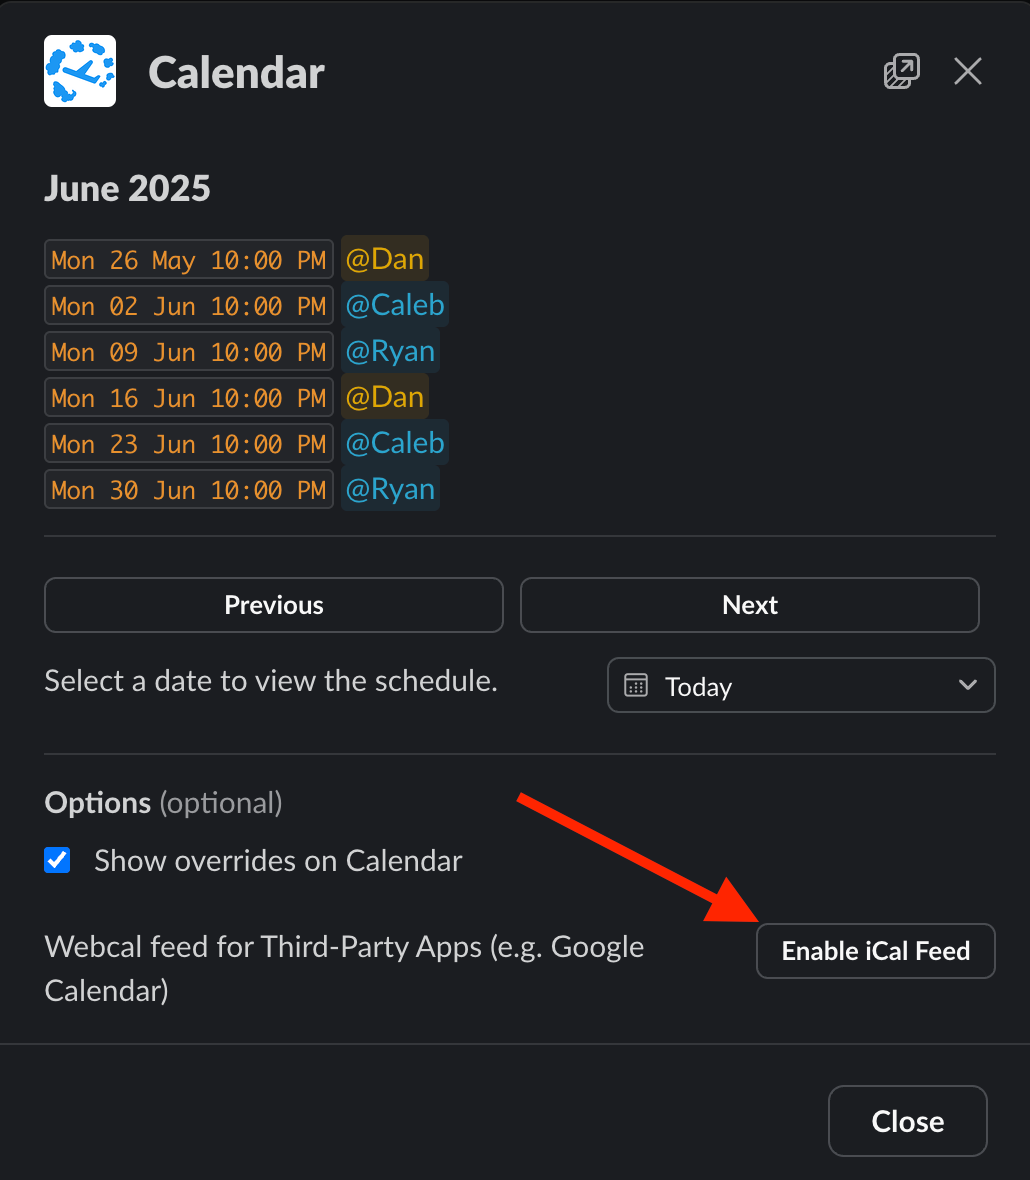
For calendars that change frequently (like a team schedule or a shared family calendar), importing a static file is inefficient. Instead, subscribe to the calendar using its iCal URL (also called an ICS link). This creates a live link that updates automatically.
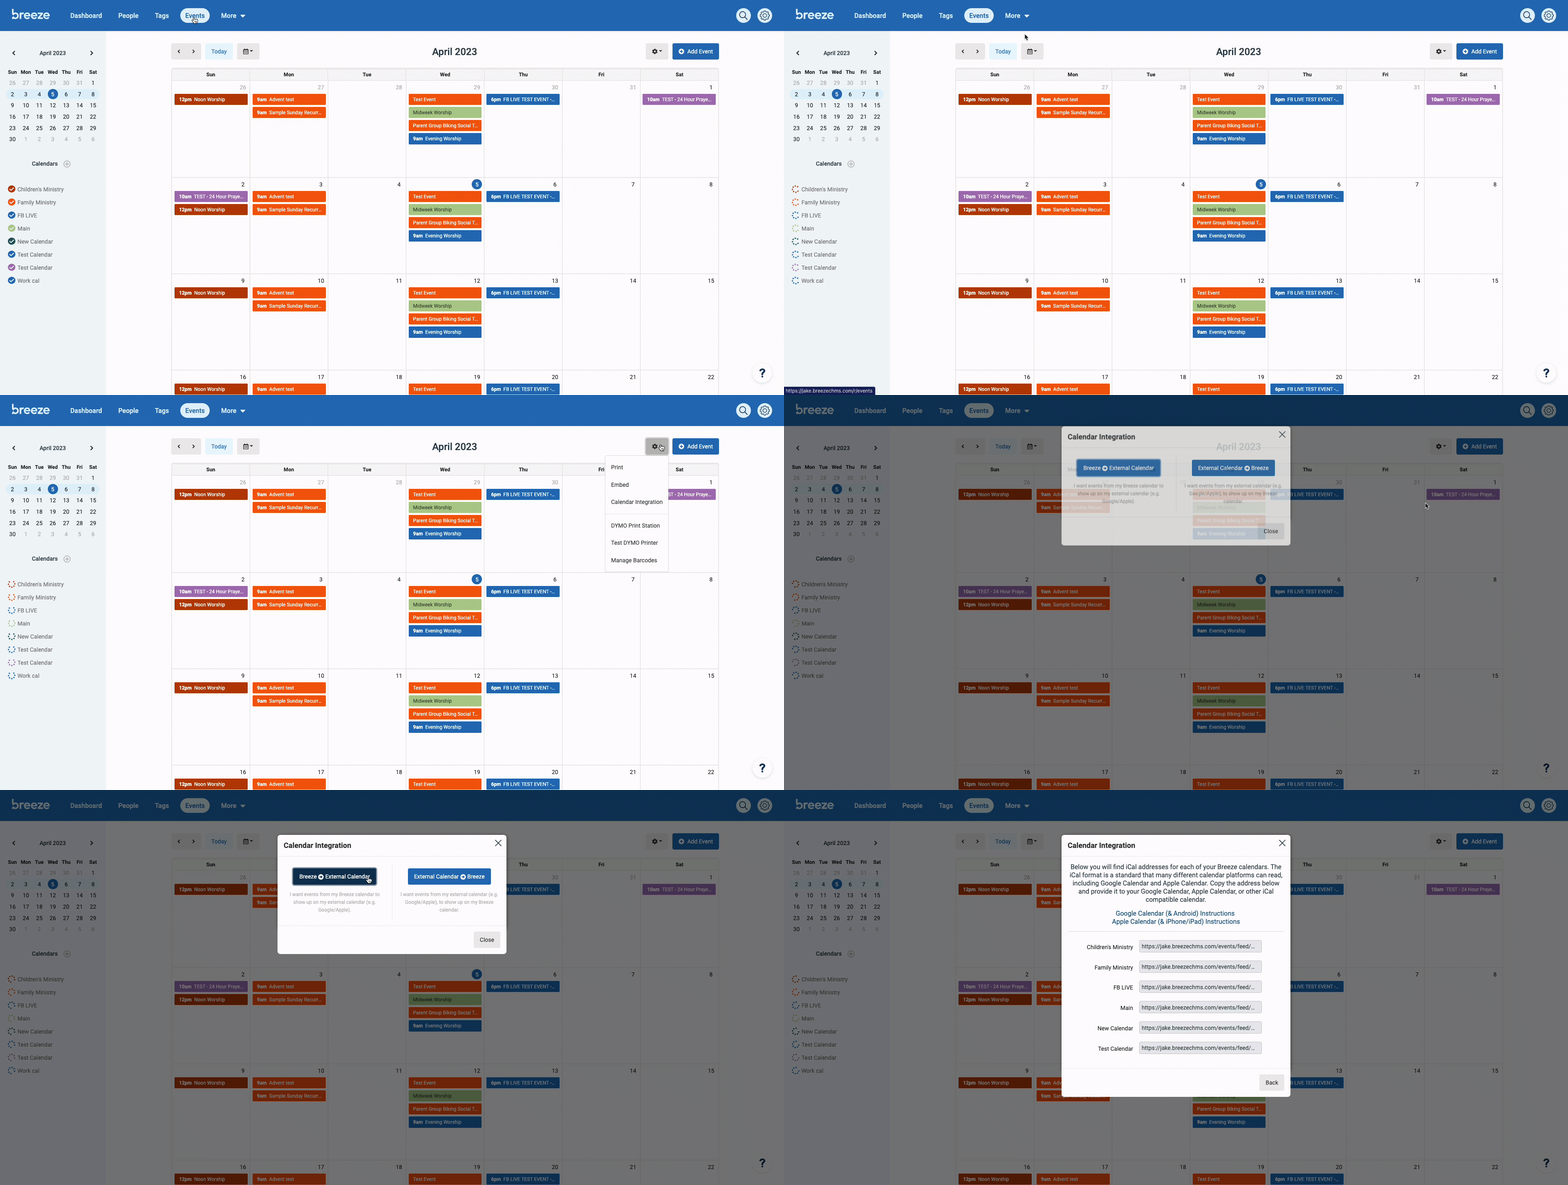
- In your source calendar’s sharing settings, find the Private URL or Public Address for the calendar.
- Copy the long URL string that ends in
.ics. - In your destination calendar, select Add by URL or Subscribe to Calendar.
- Paste the iCal URL and confirm the subscription.
- The calendar will now appear in your list, typically with a distinct color to differentiate it from local events.
Step 4: Verify sync settings and permissions
After importing or subscribing, you must ensure the calendar is visible and updating correctly. Misconfigured permissions are the most common cause of sync failures.
- Check the calendar list in your destination app to ensure the new calendar is checked/visible.
- Review the Sharing or Access settings on the source calendar to confirm you have at least "View" permissions (or "Make changes" if you need two-way editing).
- Wait 5–10 minutes for the initial sync to complete, then check for recent events.
- If events do not appear, verify your internet connection and ensure no firewall or privacy settings are blocking the iCal URL request.
Step 5: Manage conflicting events
When syncing multiple calendars, overlapping events can clutter your view. Most modern calendar apps allow you to manage these conflicts visually.
- Enable Overlay or Merge view to see all calendars simultaneously.
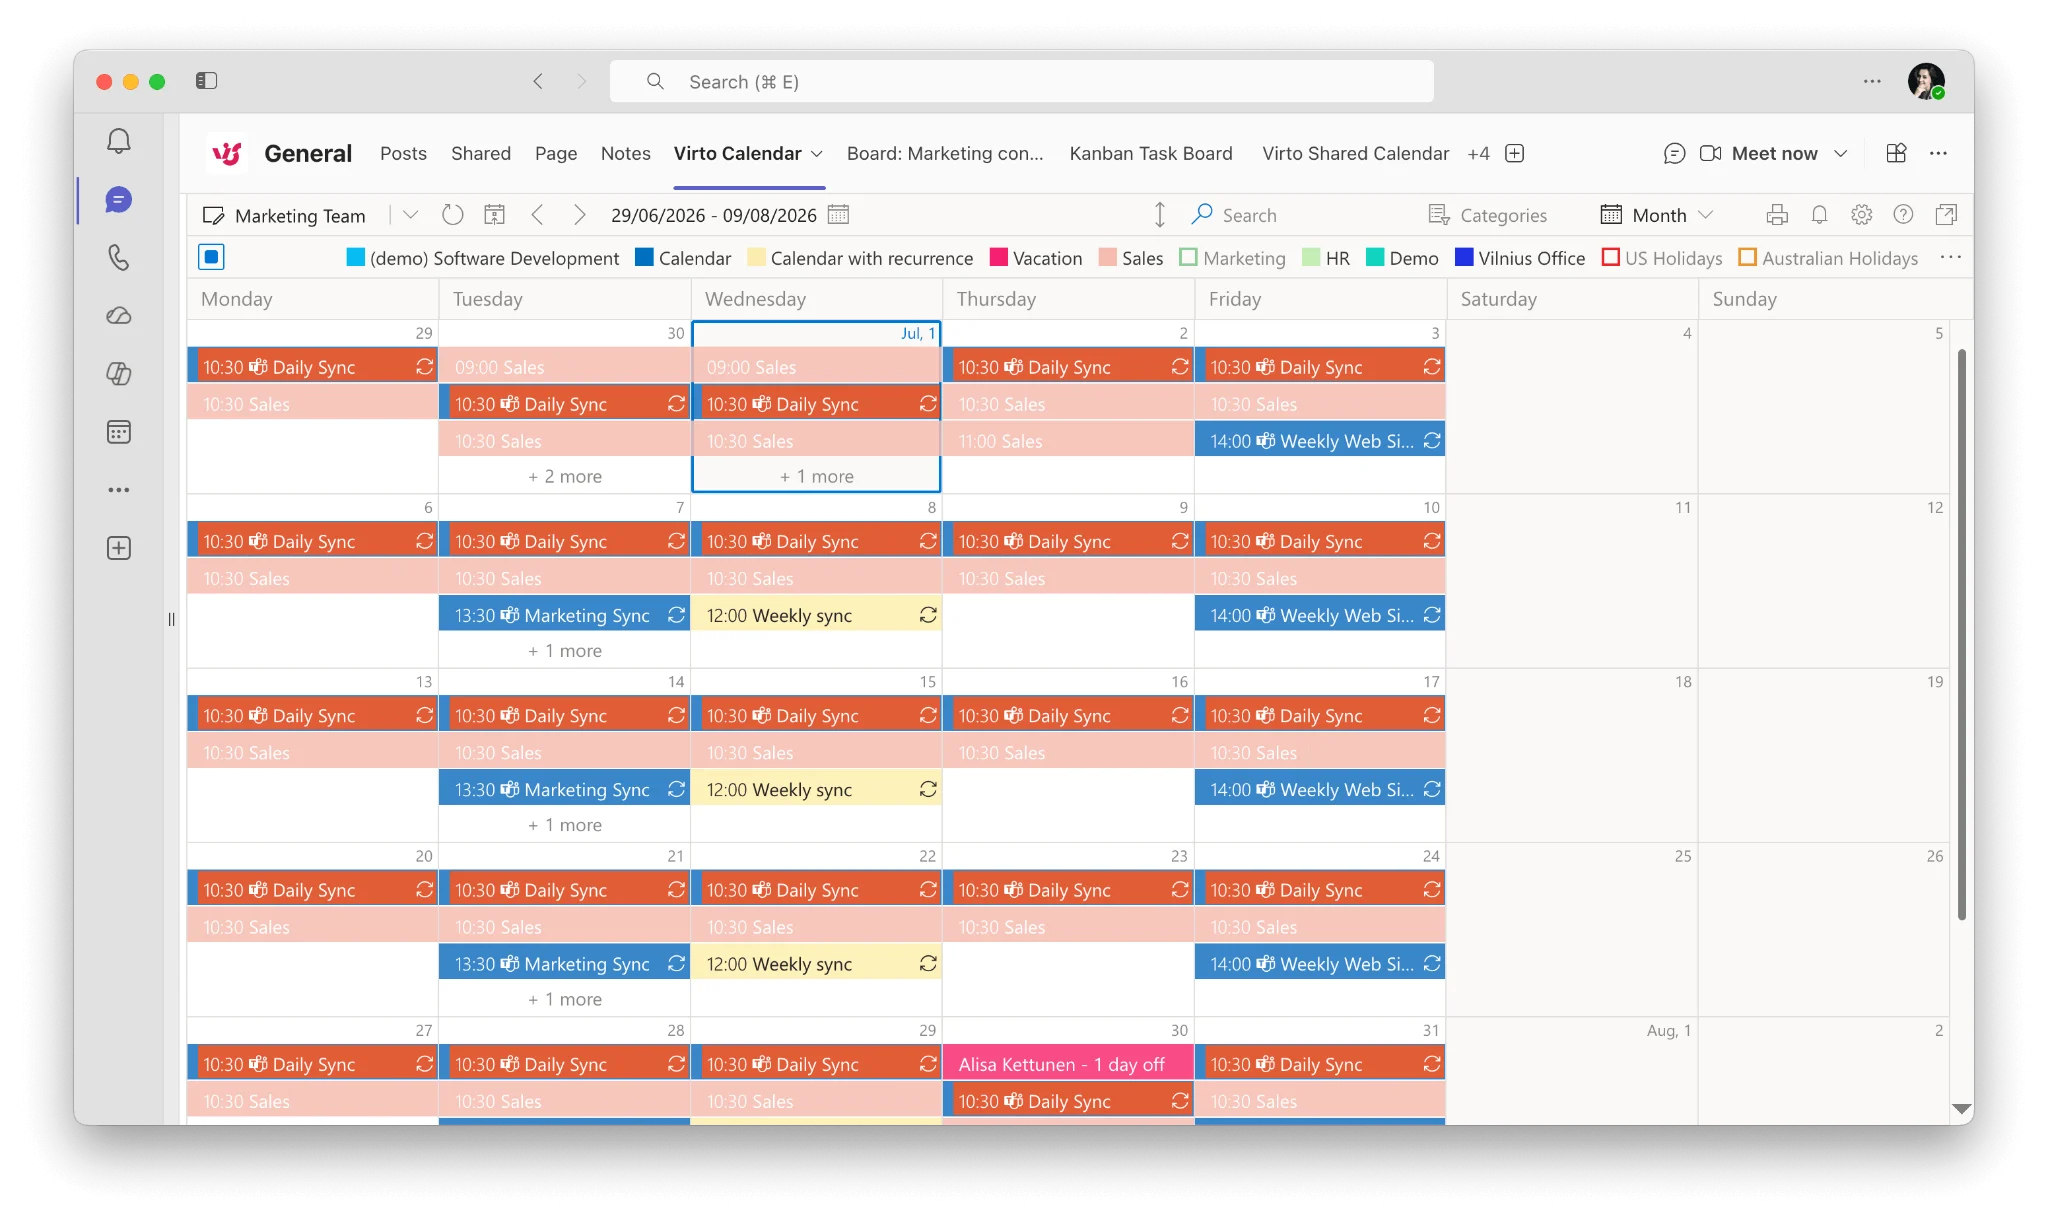
- Use color-coding to distinguish between sources (e.g., red for work, blue for personal).
- If two-way sync is active, test a minor edit on one platform and confirm it appears on the other within a few minutes.
- For one-way syncs, remember that changes made in the destination app will not reflect back to the source; you must edit the original source calendar to keep data consistent.
Common calendar syncing mistakes
Syncing calendars across platforms rarely fails because the technology is broken. It usually fails because of small configuration errors that compound over time. When you import an iCal feed or set up two-way sync, these three mistakes cause the most friction.
Mismatched time zones
The most common source of confusion is time zone drift. If you import a calendar from a different region, the events will appear at the wrong local time. For example, a meeting scheduled for 2:00 PM in London will show as 9:00 AM in New York if your device assumes the event is local. Always check the time zone setting in your iCal viewer settings. If the feed source does not specify a time zone, assume it matches your current location, but verify.
Conflicting read-only permissions
Many users treat shared calendars as editable workspaces. If you import a colleague’s schedule as a read-only feed, you cannot add events to it. Later, you might try to manually edit an event and wonder why it won’t save. Conversely, if you share your own calendar but accidentally set the permission to “view only,” others will see your busy blocks but cannot add appointments. Always verify the permission level matches your intent: view-only for reference, edit for collaboration.
Ignoring the sync interval
Automatic sync is convenient but not instant. Most calendar apps check for updates every 15 to 30 minutes. If you add an event to one calendar and expect it to appear on your phone immediately, you will be frustrated. This delay is normal. However, if you wait hours and the event still hasn’t appeared, the sync cycle may have stalled. Manually refreshing the calendar or checking your internet connection usually resolves this.
To avoid these issues, treat your calendar sync like a plumbing system. Check the connections (permissions), ensure the water flows in the right direction (time zones), and allow time for the pipes to clear (sync interval). Regular maintenance prevents most headaches.
Calendar syncing: what to check next
You likely have a few practical concerns before committing to a syncing setup. The following answers address the most common blockers and choices readers face when managing cross-platform calendars.
Helpful gear
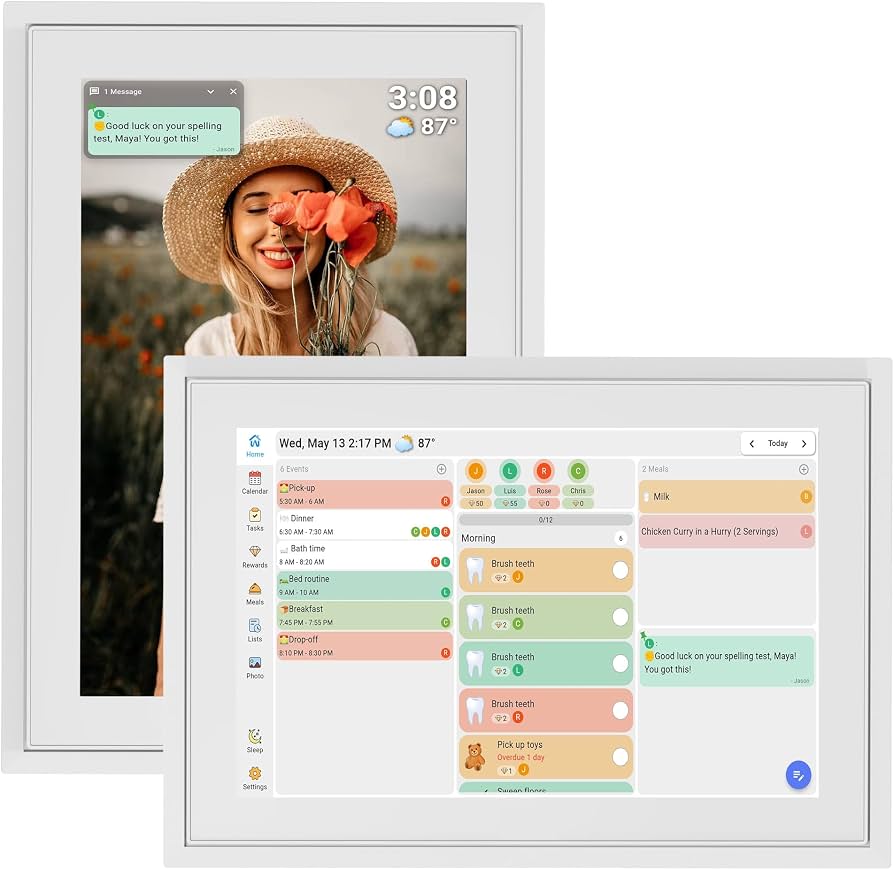
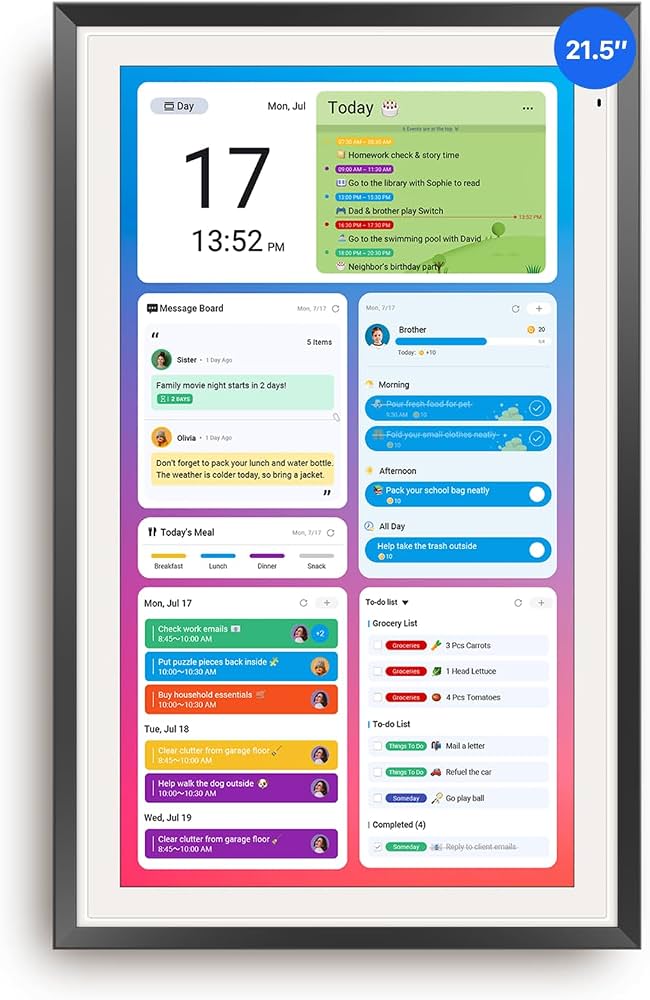
Use these product recommendations as a starting point, then choose the size, material, and price point that fit how you actually use the gear.
As an Amazon Associate, we may earn from qualifying purchases.
Work through Calendar Syncing
No comments yet. Be the first to share your thoughts!