


Pick a central calendar provider
Choosing a single source of truth eliminates sync conflicts. While Apple Calendar, Outlook, and Samsung Calendar have loyal followings, Google Calendar remains the most reliable hub for cross-platform syncing. It offers the broadest native support for iOS, Android, and web clients, making it the safest choice for keeping your schedule consistent across all your devices.
The technical advantage lies in Google’s open API and universal sync protocols. When you set Google Calendar as your primary provider, you avoid the fragmented sync issues that often occur when trying to force Apple’s iCloud Calendar to talk to Android or Outlook. Most modern apps and smart home devices prioritize Google Calendar integration, ensuring that reminders, events, and recurring meetings appear exactly where you need them.
To get started, create a dedicated Google account if you don’t already have one. During setup on each device, select Google as the default calendar account. This ensures that new events are stored in the cloud immediately, rather than locally on a single phone. Once your primary calendar is synced, you can add secondary calendars (work, personal) as sub-calendars within the same Google ecosystem, keeping everything organized under one roof.
Add your Apple Calendar to Google
If you use an iPhone or Mac, your events live in the Apple ecosystem. To make them visible on Android or the web, you need to push those events into Google Calendar. Think of this as building the central hub where all your schedules converge.
Follow these steps to export your Apple events and import them into Google.
Launch the Calendar app. Tap your profile picture or initials in the top-left corner. Scroll down and tap Settings.
Tap Accounts. If you don’t see Google listed, tap Add Account > Google and sign in. Ensure the toggle for Calendars is turned on. This allows your iPhone to talk to Google’s servers.
Open Google Calendar on your web browser or Android device. Go to Settings (gear icon) > Settings for my calendars. Select your Google account. Under Integrate calendar, ensure Sync step 2: Add your Apple Calendar to Google is active. This confirms the data flow is working both ways.
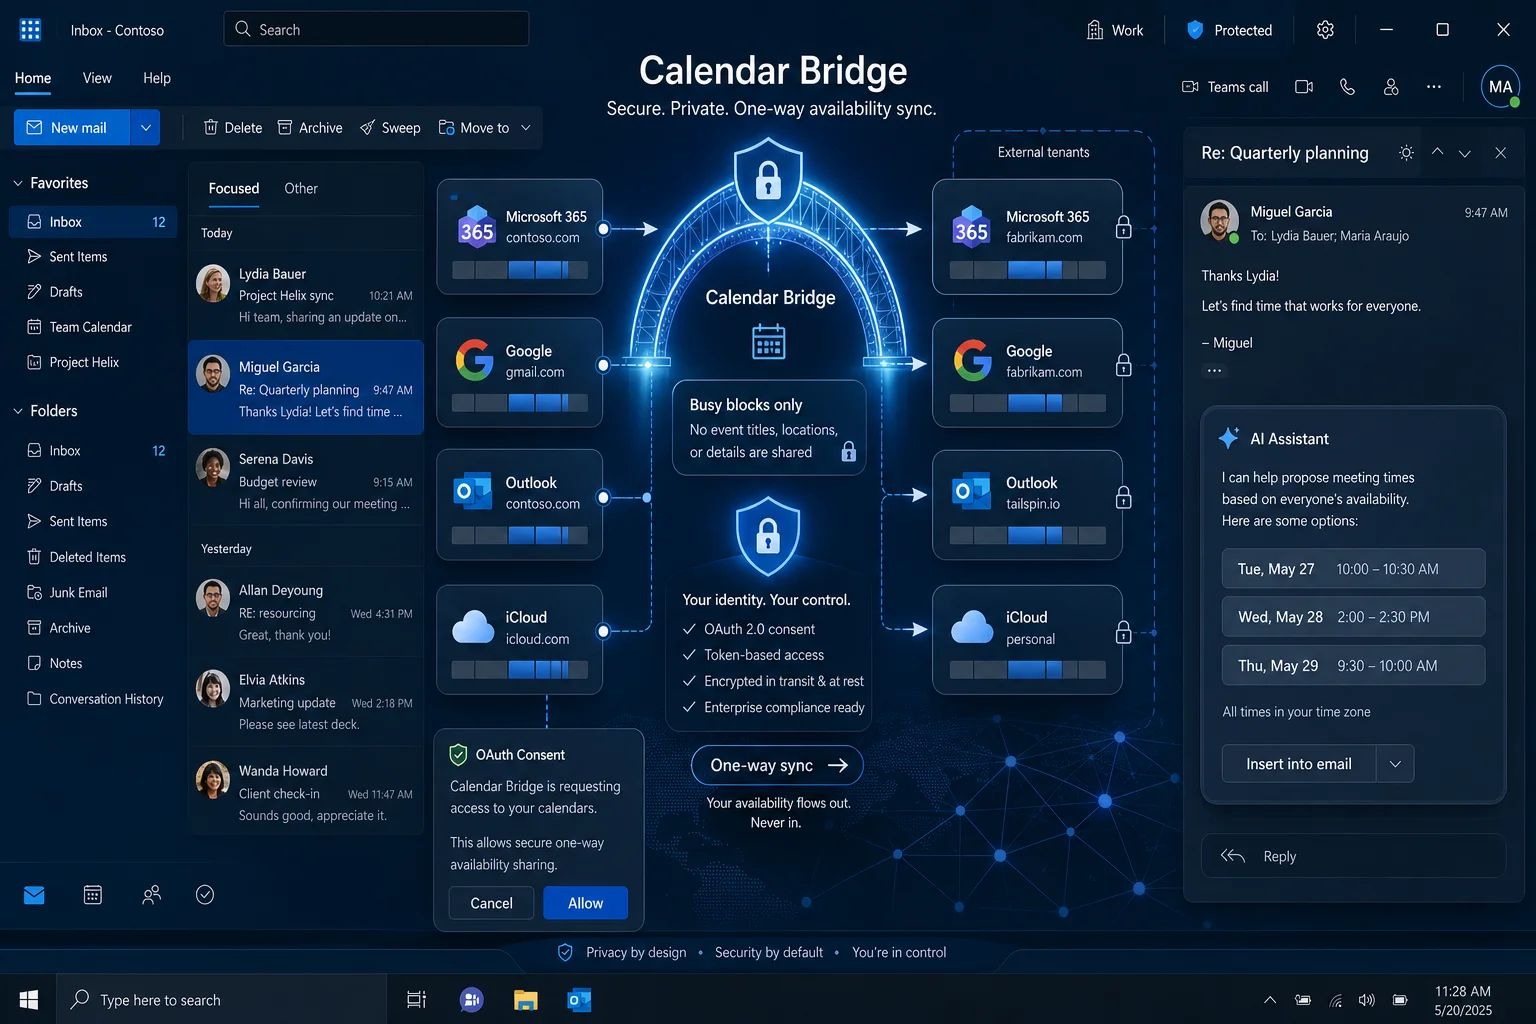
Look at your shared calendar view. If you see events appearing twice (once in the Apple section, once in Google), disable the Apple account in Google Calendar settings. You only need one master copy to avoid confusion.
Once synced, your Calendar Geek setup is complete. Any new event added to Apple Calendar will appear in Google within a few minutes. This ensures you never miss a meeting, regardless of which device you pick up first.
Connect Android devices to the same account
Linking your Android phone to the same Google account used on iOS and the web is the most reliable way to achieve real-time two-way sync. When every device reads from the same central calendar source, you eliminate the need for manual updates or third-party bridging tools. This approach ensures that a meeting added on your iPhone appears instantly on your Android screen, and vice versa.
Follow these steps to configure your Android device for seamless integration.
Navigate to the Settings app on your Android device. Tap on "Accounts" or "Users & accounts" depending on your manufacturer's interface. This section manages all the digital identities linked to your phone.
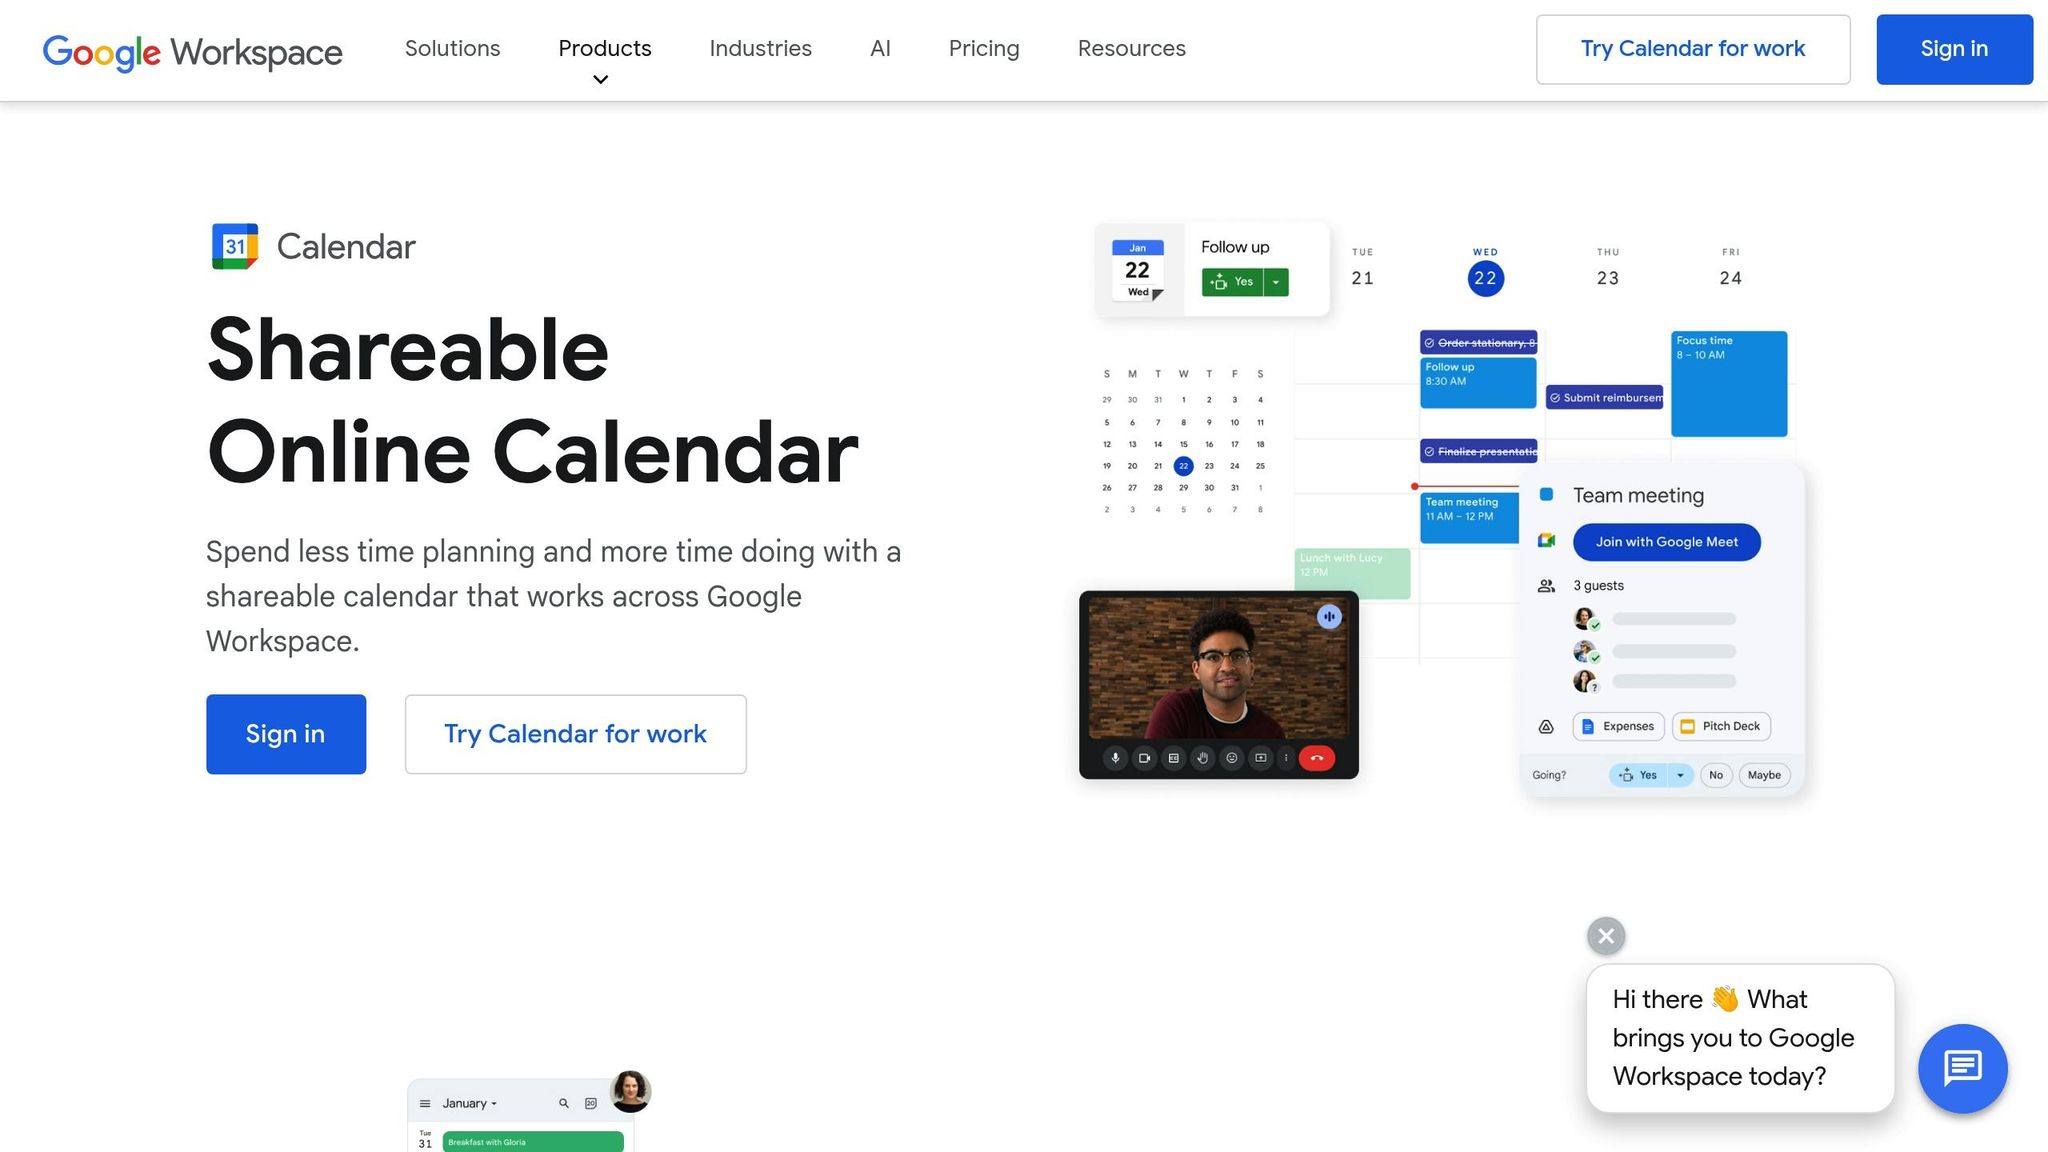
Select "Add account" and choose Google from the list. Enter your primary email address and password. If you have two-factor authentication enabled, complete the verification step to proceed. This action registers your device with the same identity used on your other platforms.
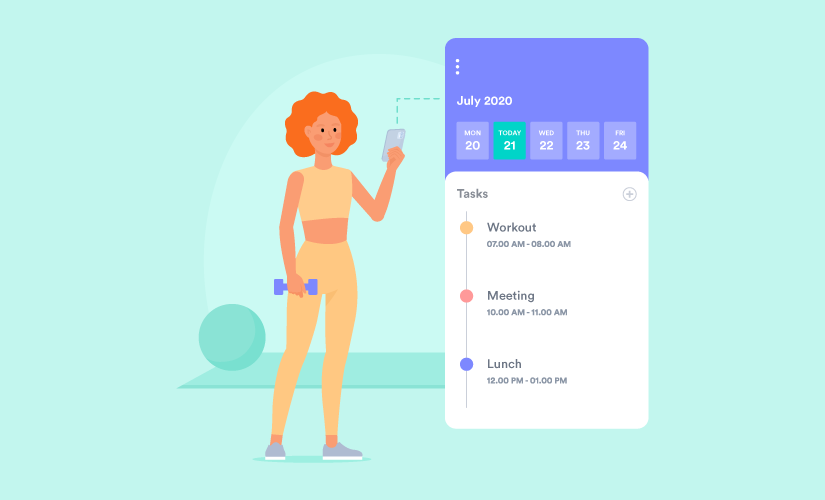
Once the account is added, tap on the Google account entry to view sync options. Ensure the toggle for "Calendar" is turned on. You can also select which specific calendars to sync (e.g., primary, birthdays, holidays). Leaving this off will break the two-way sync loop.
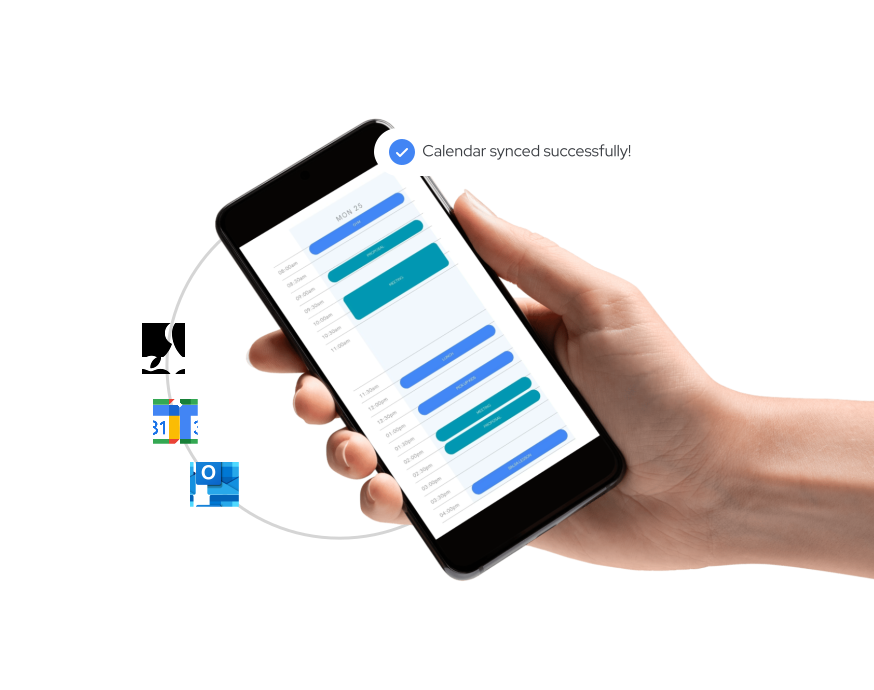
Open the Google Calendar app on your Android device. Pull down to refresh the view. You should see events from your iOS and web calendars appearing immediately. If events are missing, check your internet connection and ensure the sync toggle in Settings remains active.
This method creates a unified "Calendar Geek" experience across all your devices. By relying on Google's native infrastructure, you avoid the latency and errors common in manual export-import workflows. Your schedule stays consistent whether you are checking it on a desktop browser, an iPhone, or an Android phone.
Share a specific Calendar Geek with others
Sharing your entire account gives away too much. Instead, use the Calendar Geek feature to share only the events that matter. This lets you give family members access to a shared grocery list or a colleague permission to view a project timeline without exposing your personal schedule.
1. Select the calendar
Open your calendar app on iOS, Android, or the web. Locate the specific calendar you want to share in the sidebar or menu. Do not share your primary "Home" or "Work" calendar if they contain mixed personal and professional events. Choose a dedicated calendar created for this purpose.
2. Open sharing settings
Tap or click the settings icon next to the calendar name. Look for an option labeled "Share," "Share with People," or "Collaborate." On mobile apps, this is often found under a three-dot menu or by long-pressing the calendar name. On the web, it may be in the calendar properties panel.
3. Choose permissions
Decide what others can do. "View only" is best for family members who just need to know when you are busy. "Edit" or "Manage" allows others to add, change, or delete events. Be careful with "Manage" permissions, as accidental deletions are common. For a Calendar Geek shared with a team, "Edit" is usually the right balance.
4. Send the invitation
Enter the email addresses of the people you want to share with. Alternatively, generate a shareable link. Email invitations are more secure because they require authentication. Links are easier for quick collaboration but should be set to "Anyone with the link" only for low-sensitivity items. Click "Send" or "Copy Link" to complete the process.
5. Verify access
Ask the recipient to check their inbox or calendar list. They should see the new calendar immediately. Test it by adding a dummy event. If they can see and edit it, the setup is complete. If not, double-check the permission level and email addresses entered in step four.
Fix common Calendar Geek sync conflicts
When your schedules don't match across devices, the issue usually boils down to two things: duplicate events or delayed updates. These glitches happen when multiple sources try to write to the same calendar simultaneously or when the sync engine gets stuck. Here is how to resolve the most frequent Calendar Geek errors.
Remove duplicate events
Duplicates often appear when you add the same account (like Google or iCloud) twice or when two apps try to sync the same calendar. To fix this:
- Open your device's Settings and go to Accounts or Passwords & Accounts.
- Look for your calendar provider (e.g., Google, Outlook, iCloud).
- If you see the same account listed twice, delete one. Keep the primary one active.
- In your calendar app, go to Calendars and toggle off any duplicate subscriptions.
- Wait a few minutes for the list to refresh. The duplicates should vanish.
Resolve delayed syncs
If your calendar updates are lagging, the background sync process might be paused or restricted. Modern operating systems often throttle background activity to save battery.
- Go to Settings > General > Background App Refresh (iOS) or Battery > App launch (Android).
- Ensure your calendar app is allowed to refresh in the background.
- If the issue persists, toggle Wi-Fi or Mobile Data off and on again. This forces the device to re-establish the connection to the calendar server.
- Manually pull down on your calendar list to trigger an immediate sync.
Verify your setup with a test event
Now that your accounts are linked, it is time to prove the sync is actually working. Creating a single test event is the fastest way to catch configuration errors before they cause confusion. Treat this like a system diagnostic: if the event appears on all three platforms, your sync is healthy. If it vanishes or duplicates, one of your connections needs attention.
Use the Calendar Geek method of cross-platform validation by following these steps:
- Create the event: Open your primary calendar on the web. Add a one-time event titled "Sync Test" for tomorrow at 10:00 AM. Include a note with a unique number, like "ID: 1234", to help you identify it quickly.
- Check iOS: Pull down to refresh your calendar app on your iPhone or iPad. Ensure the event appears with the correct time and title.
- Check Android: Open the Google Calendar app on your phone or tablet. Verify that the "Sync Test" event is visible and matches the web version exactly.
- Check other web browsers: Open a different browser or incognito window and log into your cloud calendar. Confirm the event is present there as well.
If the event does not appear on one device, check the specific account settings for that platform. Ensure the correct calendar is selected and not set to "hidden" or "read-only." Delete the test event after verification to keep your schedule clean.
No comments yet. Be the first to share your thoughts!