

Set up your Calendar Geek account
Before you can sync your schedules, you need an active account on the Calendar Geek platform. This account serves as the central hub for managing all your connected calendars, whether they live on Google, Apple, Outlook, or other providers. Getting this foundation right ensures that your sync tools have the necessary permissions to read and write events across platforms.
Create your account
Head to the Calendar Geek website and click the sign-up button. You will need to provide a valid email address and create a secure password. Since you will be connecting sensitive calendar data, choose a password that is unique to this service. After submitting your details, check your email for a verification link to confirm your identity.
Log in and verify permissions
Once verified, log in to your new dashboard. The first time you access the platform, Calendar Geek will prompt you to grant access to your existing calendars. This is a standard security step where you authorize the app to view your schedule. Review the permissions carefully—ensure you are granting access only to the calendars you intend to sync. Without these permissions, the sync engine cannot pull in your events or updates.

Navigate to the official Calendar Geek website. Locate the "Sign Up" or "Get Started" button, usually found in the top right corner of the homepage. Click it to begin the registration process.
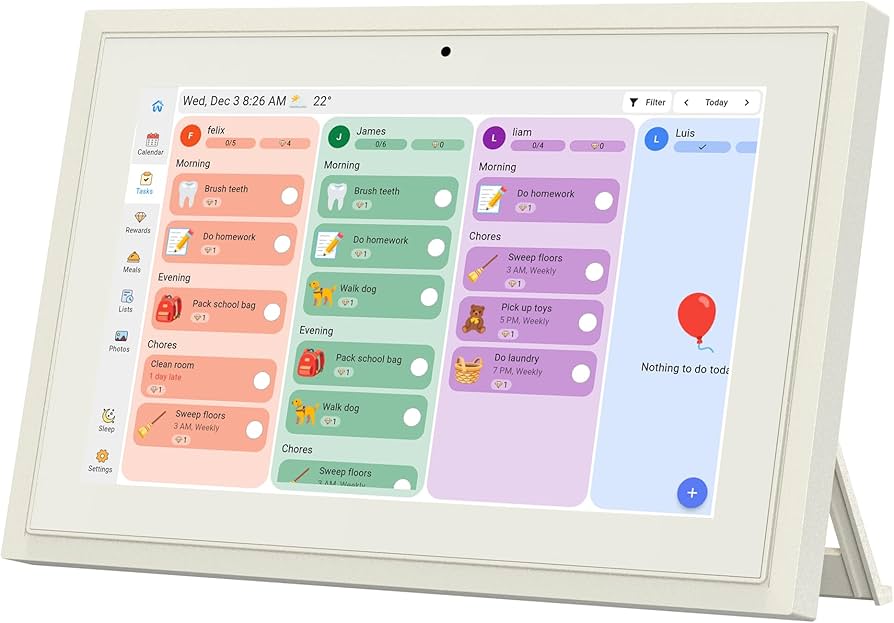
Enter your email address and create a strong password. Confirm your password to avoid typos. Submit the form to create your account credentials.
Check the inbox associated with the email you provided. Open the verification email from Calendar Geek and click the confirmation link inside. This step activates your account and unlocks the sync features.
Return to the Calendar Geek site and log in with your new credentials. You should now see the main dashboard, ready for you to connect your first calendar source.
-
Account created with valid email
-
Email verified via confirmation link
-
Logged into the Calendar Geek dashboard
-
Permissions granted for primary calendars
With your account active and permissions set, you are ready to start connecting your specific calendar sources. The next step is to choose which platforms you want to sync.
Import external calendars into Calendar Geek
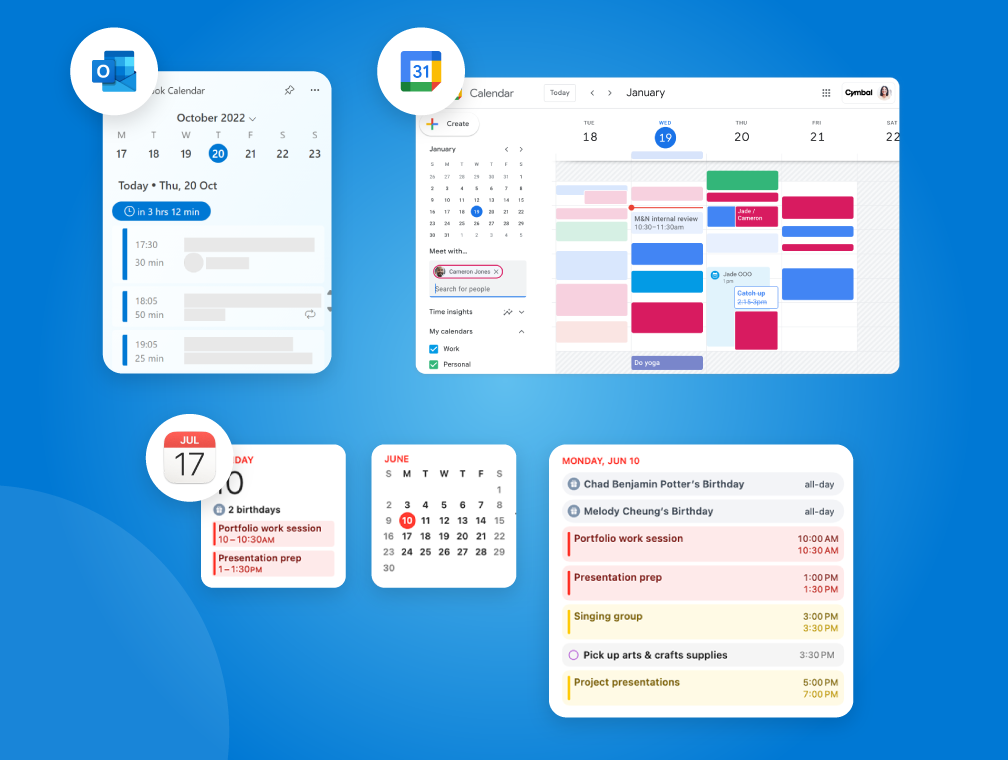
You can bring existing schedules from Google, Outlook, or Apple into Calendar Geek by subscribing to iCal URLs or uploading .ics files. This method lets you view all your commitments in one place without losing the data stored on your original platforms.
Find your iCal URL
Most modern calendar services provide a public link that allows other apps to read your schedule.
- Google Calendar: Go to Settings, select the calendar, and copy the "Integrate calendar" link.
- Outlook.com: Open the calendar settings, find the "Publish calendar" section, and copy the iCal link.
- Apple Calendar: Right-click the calendar in the sidebar, select "Copy Calendar Address," and paste it into Calendar Geek.
Upload .ics files
If your provider does not offer a direct URL, or if you want to import a one-time schedule, you can upload an .ics file. Download the calendar from your source app and select the .ics format. In Calendar Geek, use the import function to select the file. The app will parse the events and add them to your local view.
Compare import methods
| Feature | iCal URL | .ics File Upload |
|---|---|---|
| Auto-Updates | Yes | No |
| Real-Time Sync | Yes | No |
| Best For | Active, changing schedules | One-time events or archives |
| Setup Time | Copy/Paste link | Download and upload file |
Verify the import
After adding the source, check your Calendar Geek view. Events should appear immediately. If they do not, ensure the URL is correct and that you have granted read permissions to the calendar on the source platform.
Share your calendar with others
Once your calendars are synced, the next logical step is collaboration. Calendar Geek makes it easy to share your schedule with family members, colleagues, or friends. You can choose to generate a public link for broad visibility or invite specific users with controlled access levels. This flexibility ensures you can keep your personal life private while sharing work commitments, or vice versa.
Generate a shareable link
For quick sharing, Calendar Geek allows you to create a public URL for any synced calendar. This is ideal for sharing event details with large groups, such as team meetings or family gatherings, where individual invites are impractical.
Navigate to the settings of the specific calendar you wish to share. Look for the "Share" or "Public Link" option within the calendar management menu.

Before generating the link, decide on the permission level. Most platforms allow you to choose between "View Only" (read-only) or "Edit" (read-write). Choose "View Only" for general audiences to prevent accidental changes to your schedule.
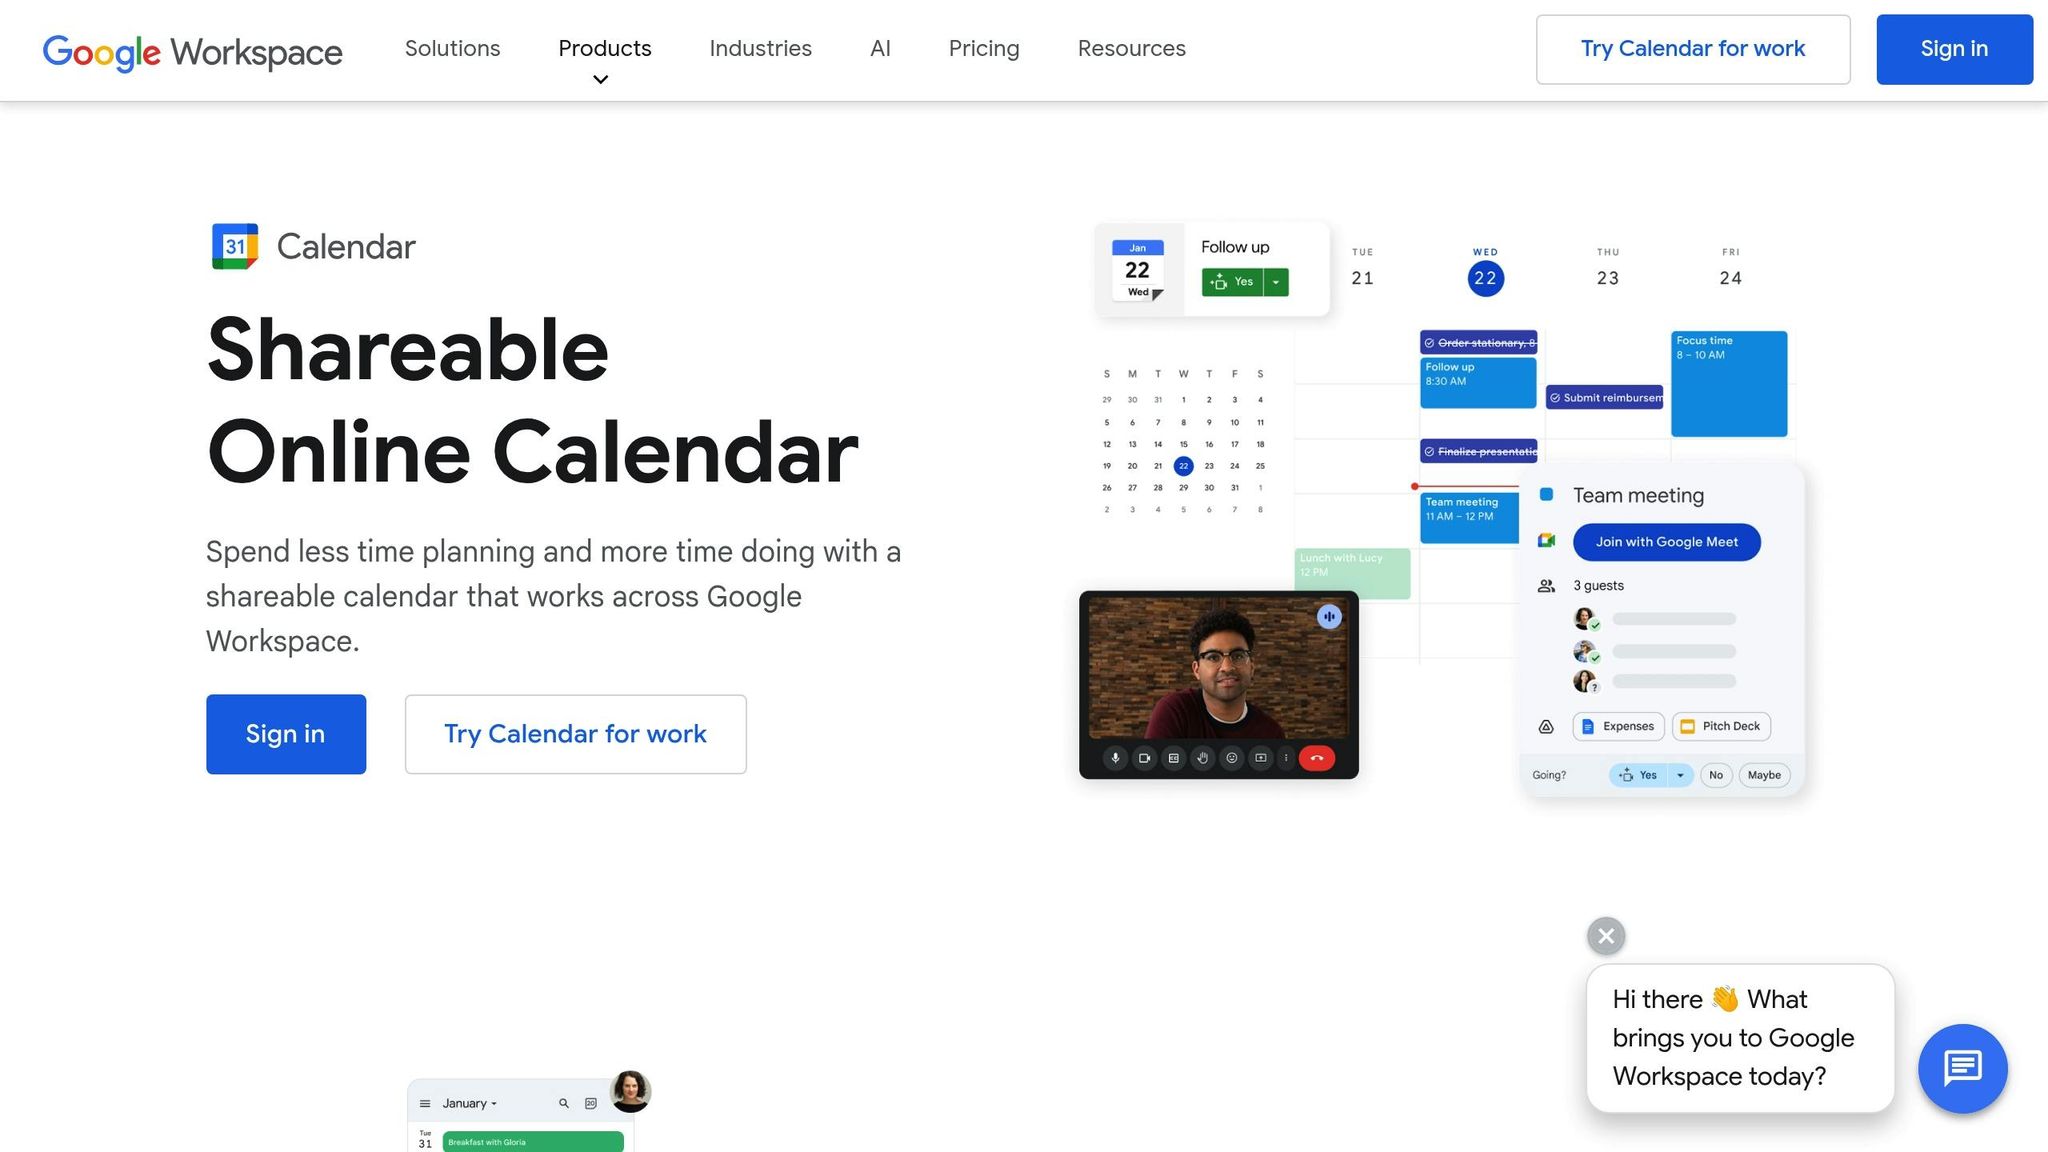
Click the "Generate Link" or "Copy Link" button. You can now paste this URL into emails, Slack channels, or group chats. Anyone with the link can view the calendar events in real-time.
Invite specific users
For more controlled collaboration, you can invite specific individuals by their email address. This method is best for projects where multiple people need to add or modify events, such as a shared team project or a household chore schedule.
Troubleshoot sync delays and errors
When Calendar Geek syncs across platforms, delays or conflicts can happen. This usually stems from conflicting event definitions or network hiccups. Follow these steps to resolve the issues and ensure your data stays accurate.
Verify your synced calendar data
Once Calendar Geek finishes the import, the real test begins. You need to confirm that events from your various sources actually landed in the right place and are showing the correct times. A sync that looks complete on the surface might still have hidden glitches if time zones or recurring event rules didn't translate perfectly.
Start by opening your primary calendar view and scanning for the most recent events. Check that the titles, locations, and descriptions match what you exported. Pay close attention to recurring events; these often break during cross-platform transfers because different systems handle "weekly" or "monthly" rules differently.
Next, verify the time zone settings. If you sync calendars across different regions, an event might appear at the correct local time but display the wrong time zone label. Ensure that all-day events are set to your current time zone and that specific appointment times align with your clock.

Frequently asked questions about Calendar Geek
Users often confuse the software tool with the cultural observance. Here are the most common questions about syncing, dates, and alternatives.
No comments yet. Be the first to share your thoughts!