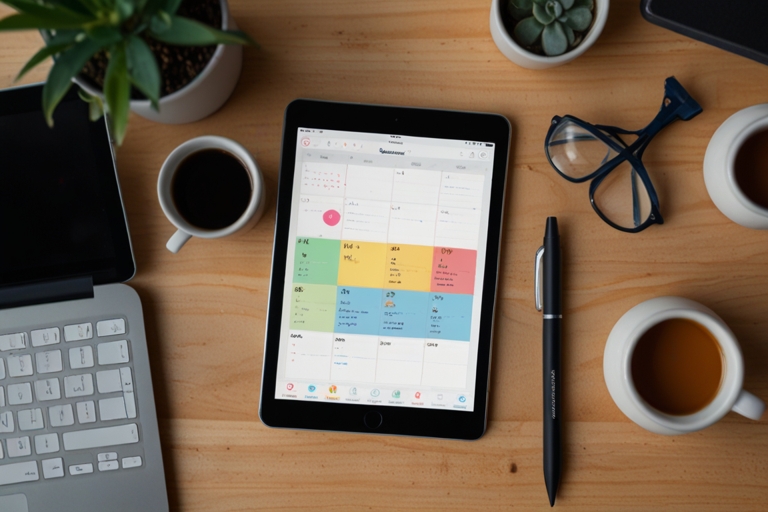

Sync, import, or share calendars
Choosing the right method depends on whether you need real-time updates, a one-time backup, or simple visibility. Each approach handles data differently, and mixing them up often leads to duplicate events or missed updates.
Syncing: Bi-directional updates
Syncing connects two calendars so changes flow both ways. When you add an event to one, it appears on the other instantly. If you delete or move the event, that change propagates to both sides. This keeps your schedules identical across devices and accounts.
Importing: One-way copy
Importing creates a static snapshot of events from one calendar into another. It is a one-time action, not an ongoing connection. If the source calendar updates later, the imported copy remains unchanged. This is useful for archiving past events or migrating data without creating a live link.
Sharing: View-only access
Sharing allows others to see your schedule without altering it. They can view free/busy times or full event details, but they cannot add, edit, or delete your entries. This is ideal for team coordination or sharing availability with clients.
Sync Google Calendar with Outlook
Bi-directional sync between Google Calendar and Microsoft Outlook ensures that events created in one platform appear in the other. This workflow connects your Google account to Outlook’s web interface, allowing changes to flow both ways.
This setup keeps your schedule consistent across platforms. If you experience delays, check your internet connection or review Outlook’s sync error logs in the same settings menu.
Sync Apple iCloud with other platforms
Bridging your Apple calendar with Google Calendar or Outlook is best handled through the "Other Calendars" import method. This approach treats external schedules as read-only layers within your iCloud environment, keeping your native Apple calendar clean while still showing events from other services.
Add an external calendar on Mac
- Open the Calendar app on your Mac.
- In the menu bar, select File > New Remotely Hosted Calendar.
- Enter the public web address (URL) of the external calendar you want to view.
- Click Subscribe. The calendar will appear in your sidebar under "Other Calendars."
Add an external calendar on iPhone or iPad
- Open Settings and tap your Apple ID at the top.
- Select Calendar, then tap Accounts.
- Tap Add Account and choose Other > Add Subscribed Calendar.
- Enter the URL of the external calendar and tap Next. Follow the prompts to save it.
Once added, these calendars sync automatically. You can toggle their visibility by checking or unchecking the box next to the calendar name in your sidebar. Note that changes made to these imported calendars will not sync back to the original source; they are view-only within iCloud.
Import calendars from iCal feeds
One-way data transfer works best for static schedules, recurring public events, or sports leagues where you only need to view updates, not edit them. Unlike two-way syncing, which duplicates events across platforms, importing an iCal feed pulls data into your calendar without sending changes back to the source. This method is ideal when you want to stay informed about external events without cluttering your own schedule or risking accidental modifications.
You can either download a static .ics file for a one-time import or subscribe to an iCal URL for automatic updates. Subscribing ensures your calendar reflects the latest changes from the source, while downloading is better for archiving or offline access.
Download an .ics file
- Find the event or calendar you want to import and look for the "Export" or "Download" option.
- Save the
.icsfile to your computer. - Open your calendar app (Google Calendar, Outlook, or Apple Calendar) and select "Import."
- Upload the
.icsfile and choose whether to create new events or merge them with existing ones. - Review the imported events to ensure they appear correctly in your calendar.
Subscribe to an iCal URL
- Locate the iCal subscription link on the website or event page. It usually ends in
.icsor is labeled "Subscribe." - Copy the URL.
- In your calendar app, go to "Add by URL" or "Subscribe."
- Paste the URL and confirm. Your calendar will now automatically pull updates from this source.
Note: iCal feeds are one-way. If you add or delete events in your calendar, those changes will not affect the original source. This is perfect for public schedules like school term dates or sports fixtures.
Verify your import
After importing, check a few random dates to ensure events are appearing as expected. If you subscribed to a URL, wait a few minutes for the first sync to complete. If events are missing, verify the URL is correct and that the source is still active.
Share calendars with team members
Sharing a calendar lets colleagues see your schedule without needing access to your personal emails or private events. Unlike full account syncing, which duplicates data across devices, sharing uses permissions to control what others can view or edit. This keeps your personal data private while keeping the team aligned on availability and meetings.
Follow these steps to share a calendar with specific people:
When managing team calendars, it is best practice to start with view-only permissions. This reduces the risk of accidental deletions or scheduling conflicts. You can always upgrade their access later if they need to contribute directly to the calendar.
Fix common sync errors and conflicts
When your calendar sync misbehaves, it usually comes down to one of three issues: duplicate events, missing updates, or permission blocks. These errors are common, but they are also straightforward to resolve if you know where to look.
Duplicate events
If you see the same meeting appearing twice, you likely have both sync and import enabled for the same calendar. This creates a loop where the event is added by the sync tool and then again by the import function. Check your calendar settings to ensure only one method is active for that specific calendar. A simple toggle change often clears the duplicates instantly.
Missing updates
When changes made in your booking tool don’t show up in your calendar, the issue is often a stale connection. Try disconnecting and reconnecting the calendar account. This forces a fresh data pull. If the problem persists, check the sync frequency settings; some tools update only every few hours rather than in real-time.
Permission errors
Sync failures often stem from revoked permissions. If you recently changed your password or security settings, your calendar app may have lost access to your account data. Re-authorize the connection through the app’s settings page. Ensure you grant full read/write access so that both directions of the sync can function correctly.
Verify your calendar sync status
The setup is only as good as the data flowing through it. To confirm that your calendar sync is working correctly, you need to perform a live test that mimics real-world usage. This process ensures that changes made on one device appear instantly on all others.
Start by creating a test event on your primary device. Add a meeting for later today with a clear title, such as "Sync Test." Save the event and immediately check your other connected devices—whether that’s a phone, tablet, or secondary computer. If the event appears within a minute or two, your sync is active and healthy.
Next, test the two-way nature of the connection. Edit or delete that test event on one device and watch the other. If the change doesn’t propagate, check your time zone settings; mismatched time zones are the most common cause of sync confusion. Once you’ve confirmed the flow, delete the test event to keep your schedule clean.
No comments yet. Be the first to share your thoughts!